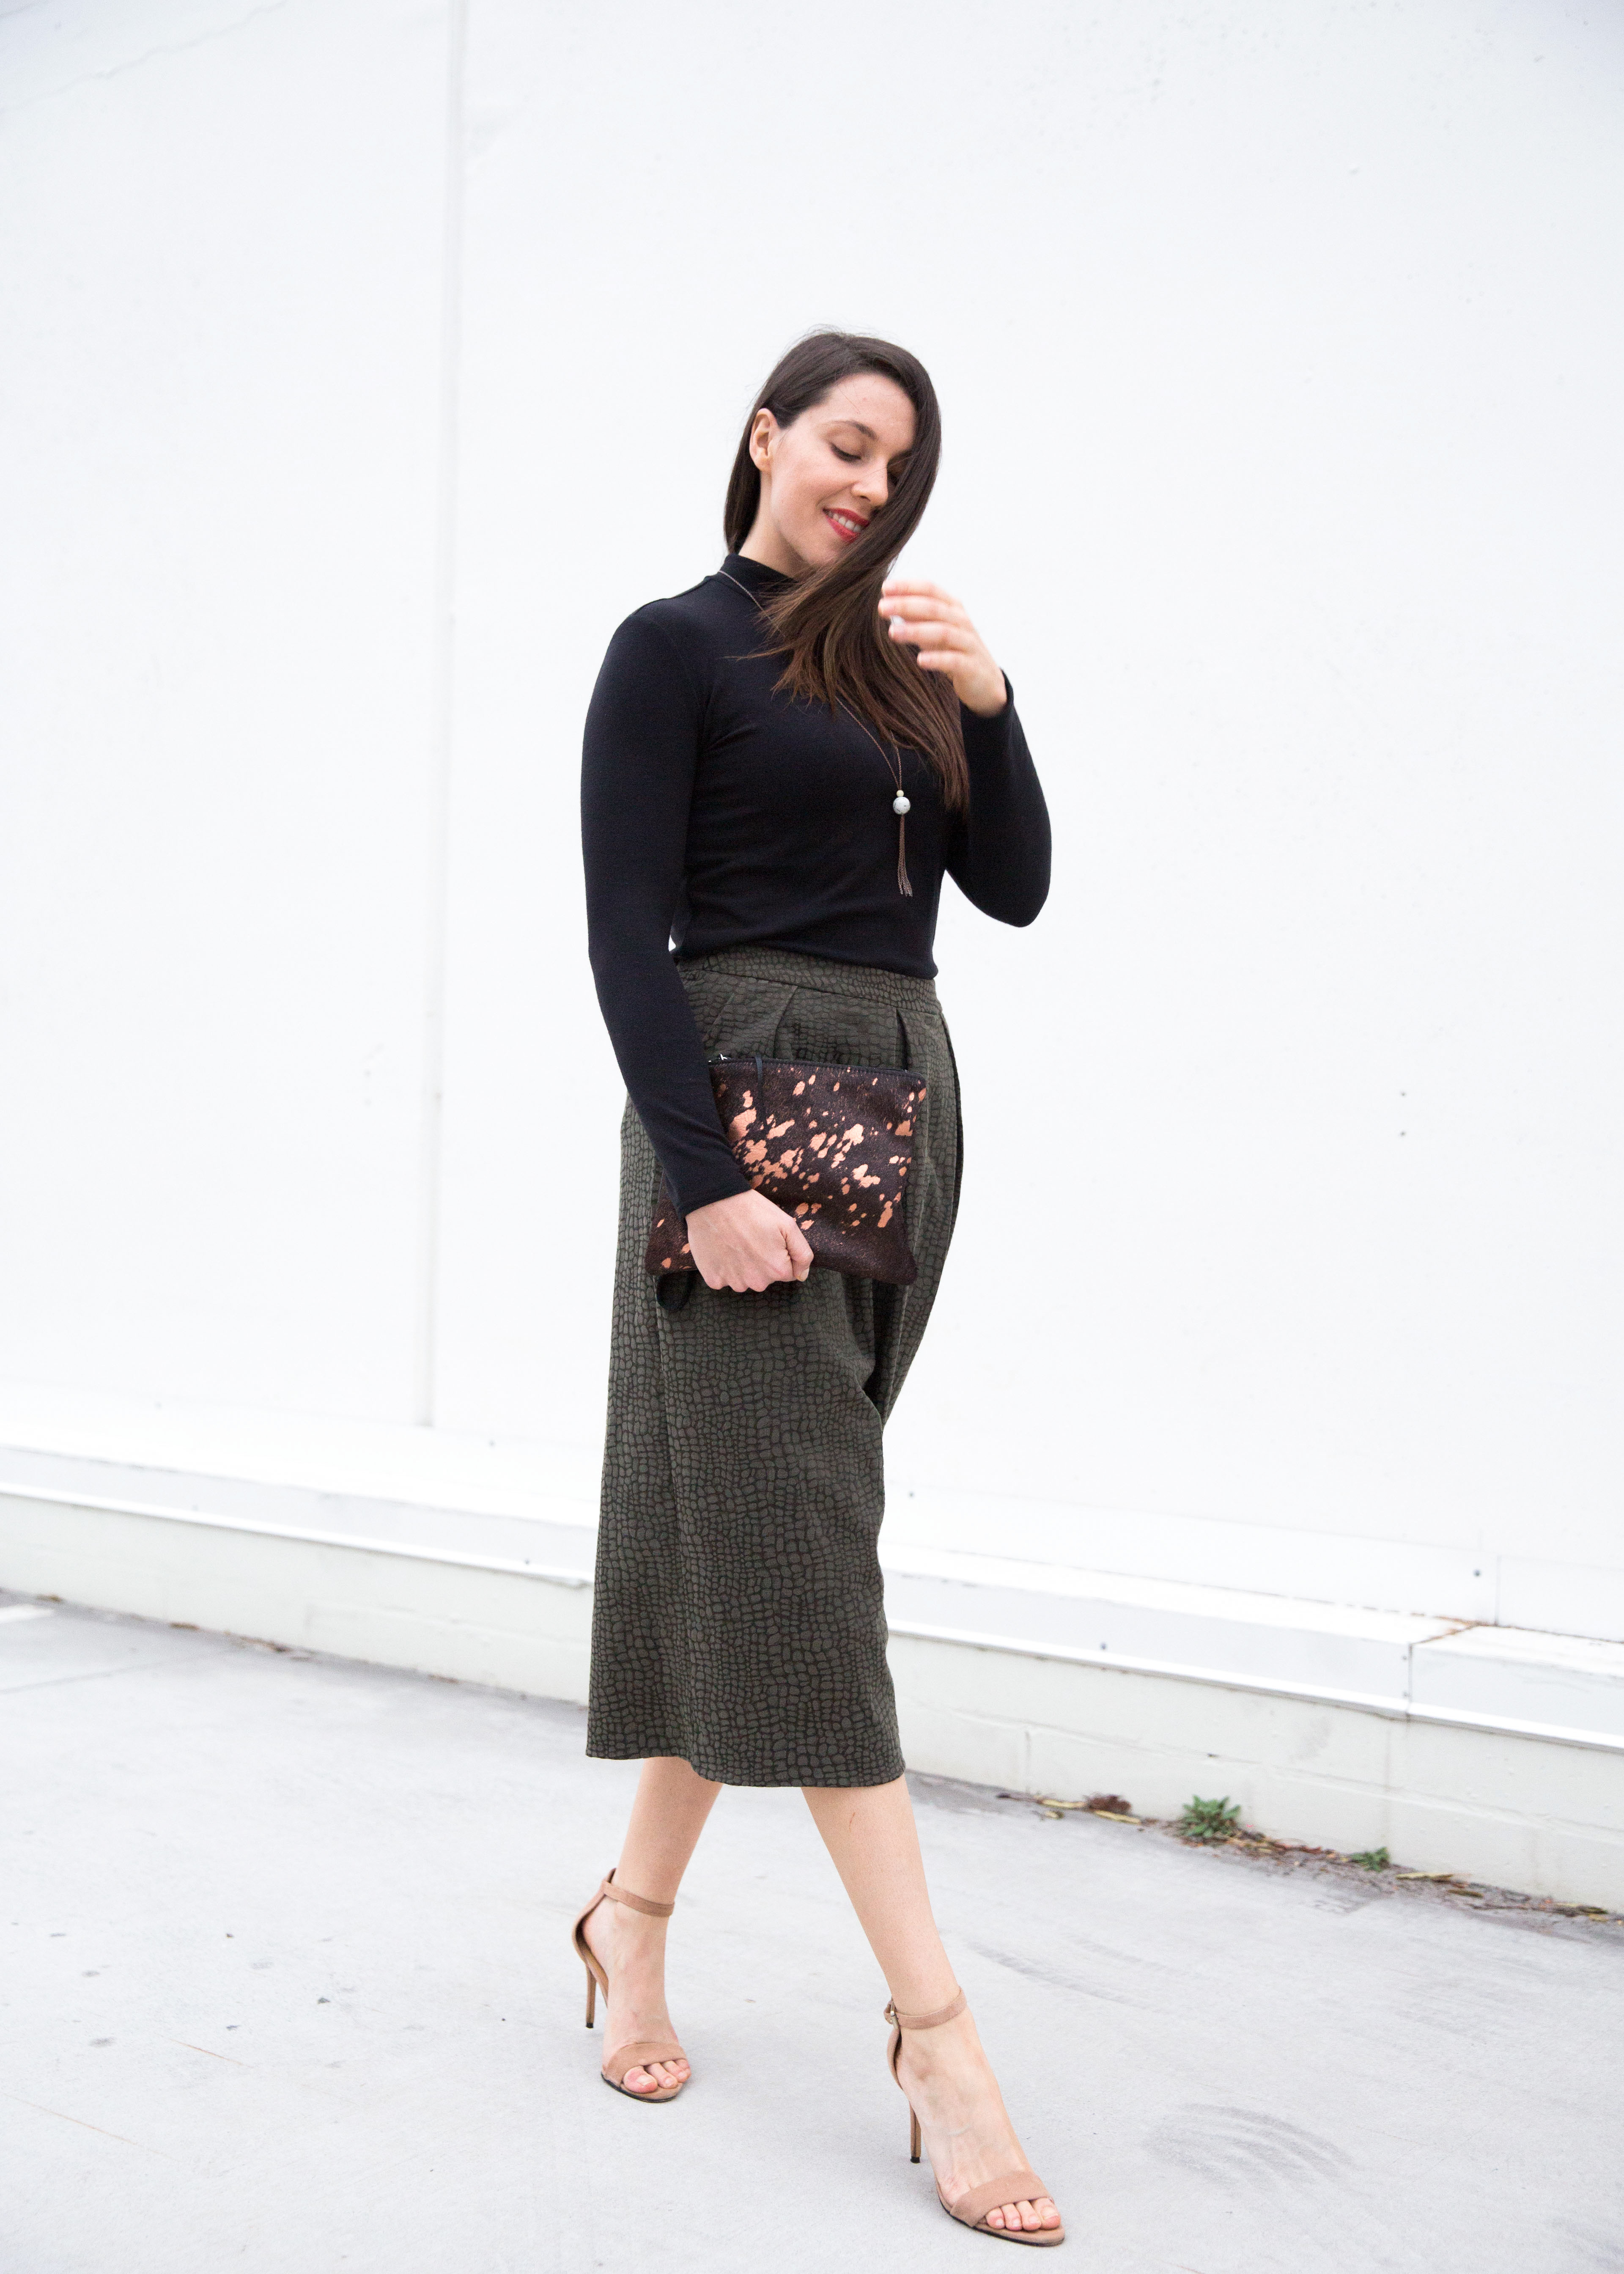
 I am so happy culottes are still around. I love that they’re re-spawning too, into a slightly thinner flared version I believe is getting around by the alias ‘cropped pants’. I have no idea, really, but their lengthy fashion term means this: we are spoilt for culotte sewing patterns! There’s so many so I’ll just mention a special few. There’s the Winslow culottes, with some serious pleatage going on and some very cool versions around. There’s the Galleria culottes; sleek and classic, not unlike their designer Sasha. There’s the newly released Emerson crop pant, which seems to sit somewhere between a culotte and it’s slender cropped cousin mentioned. There’s these you see here, the Style Arc Erin Woven culottes, plus a million more.
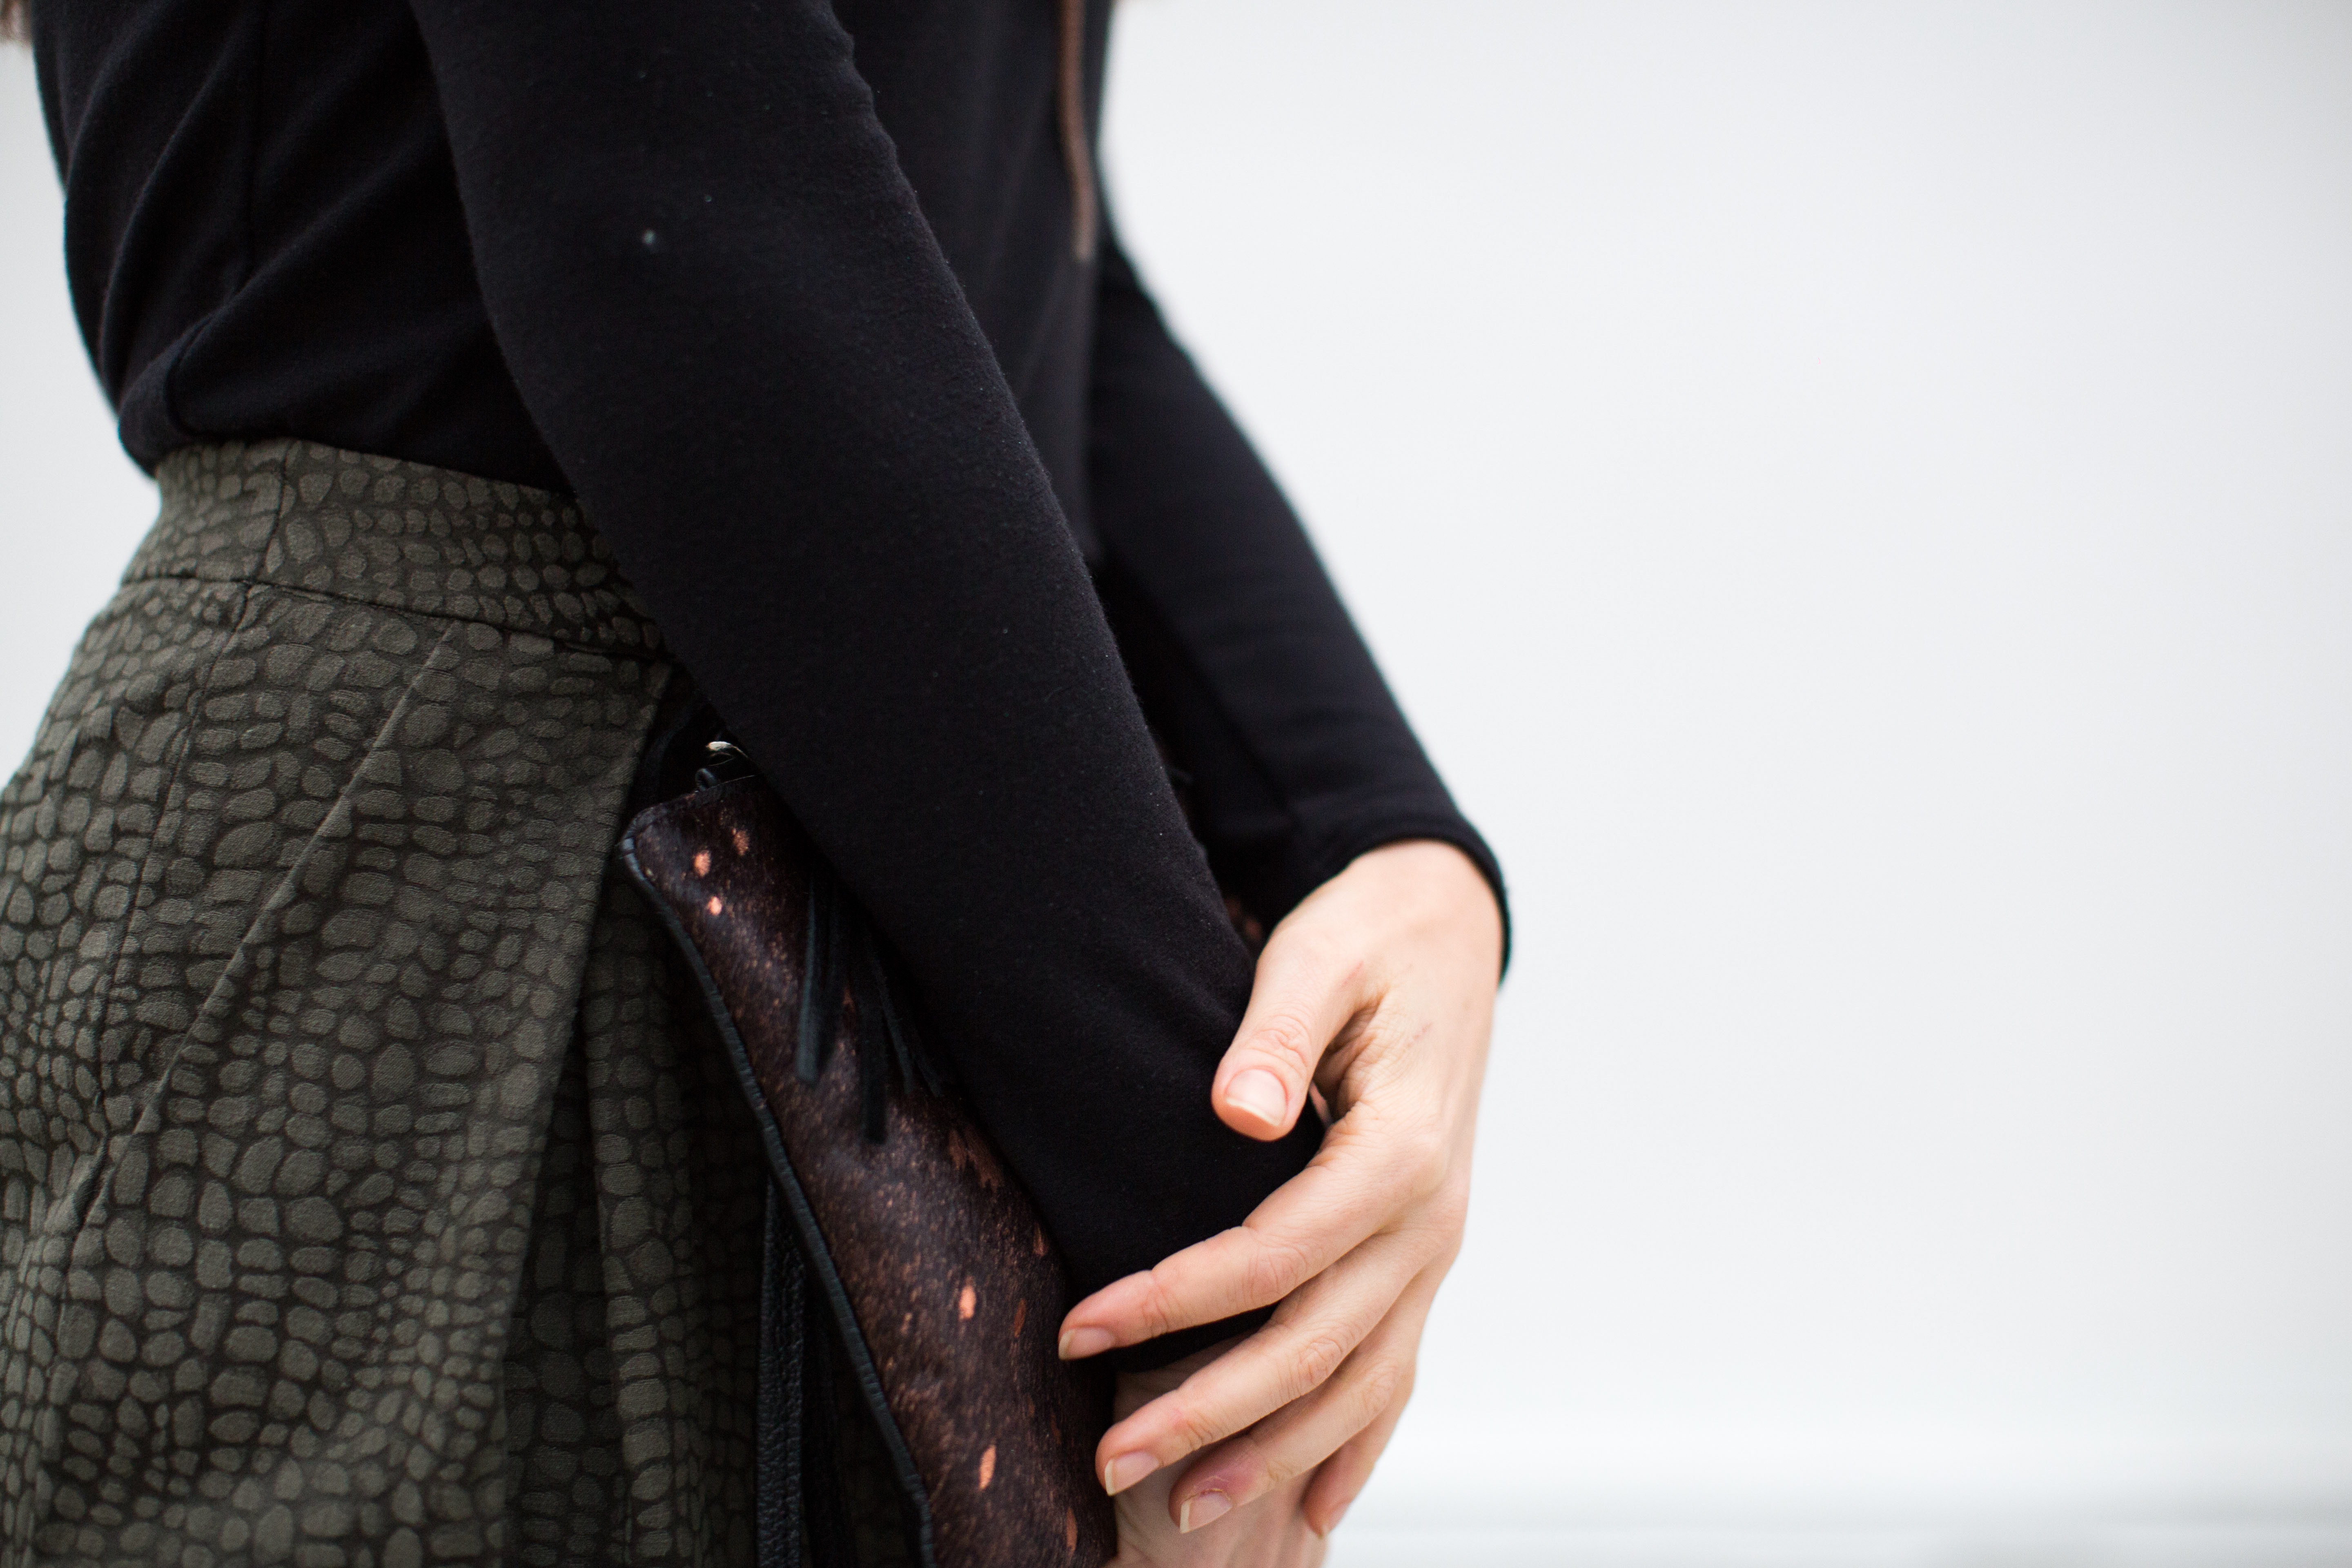
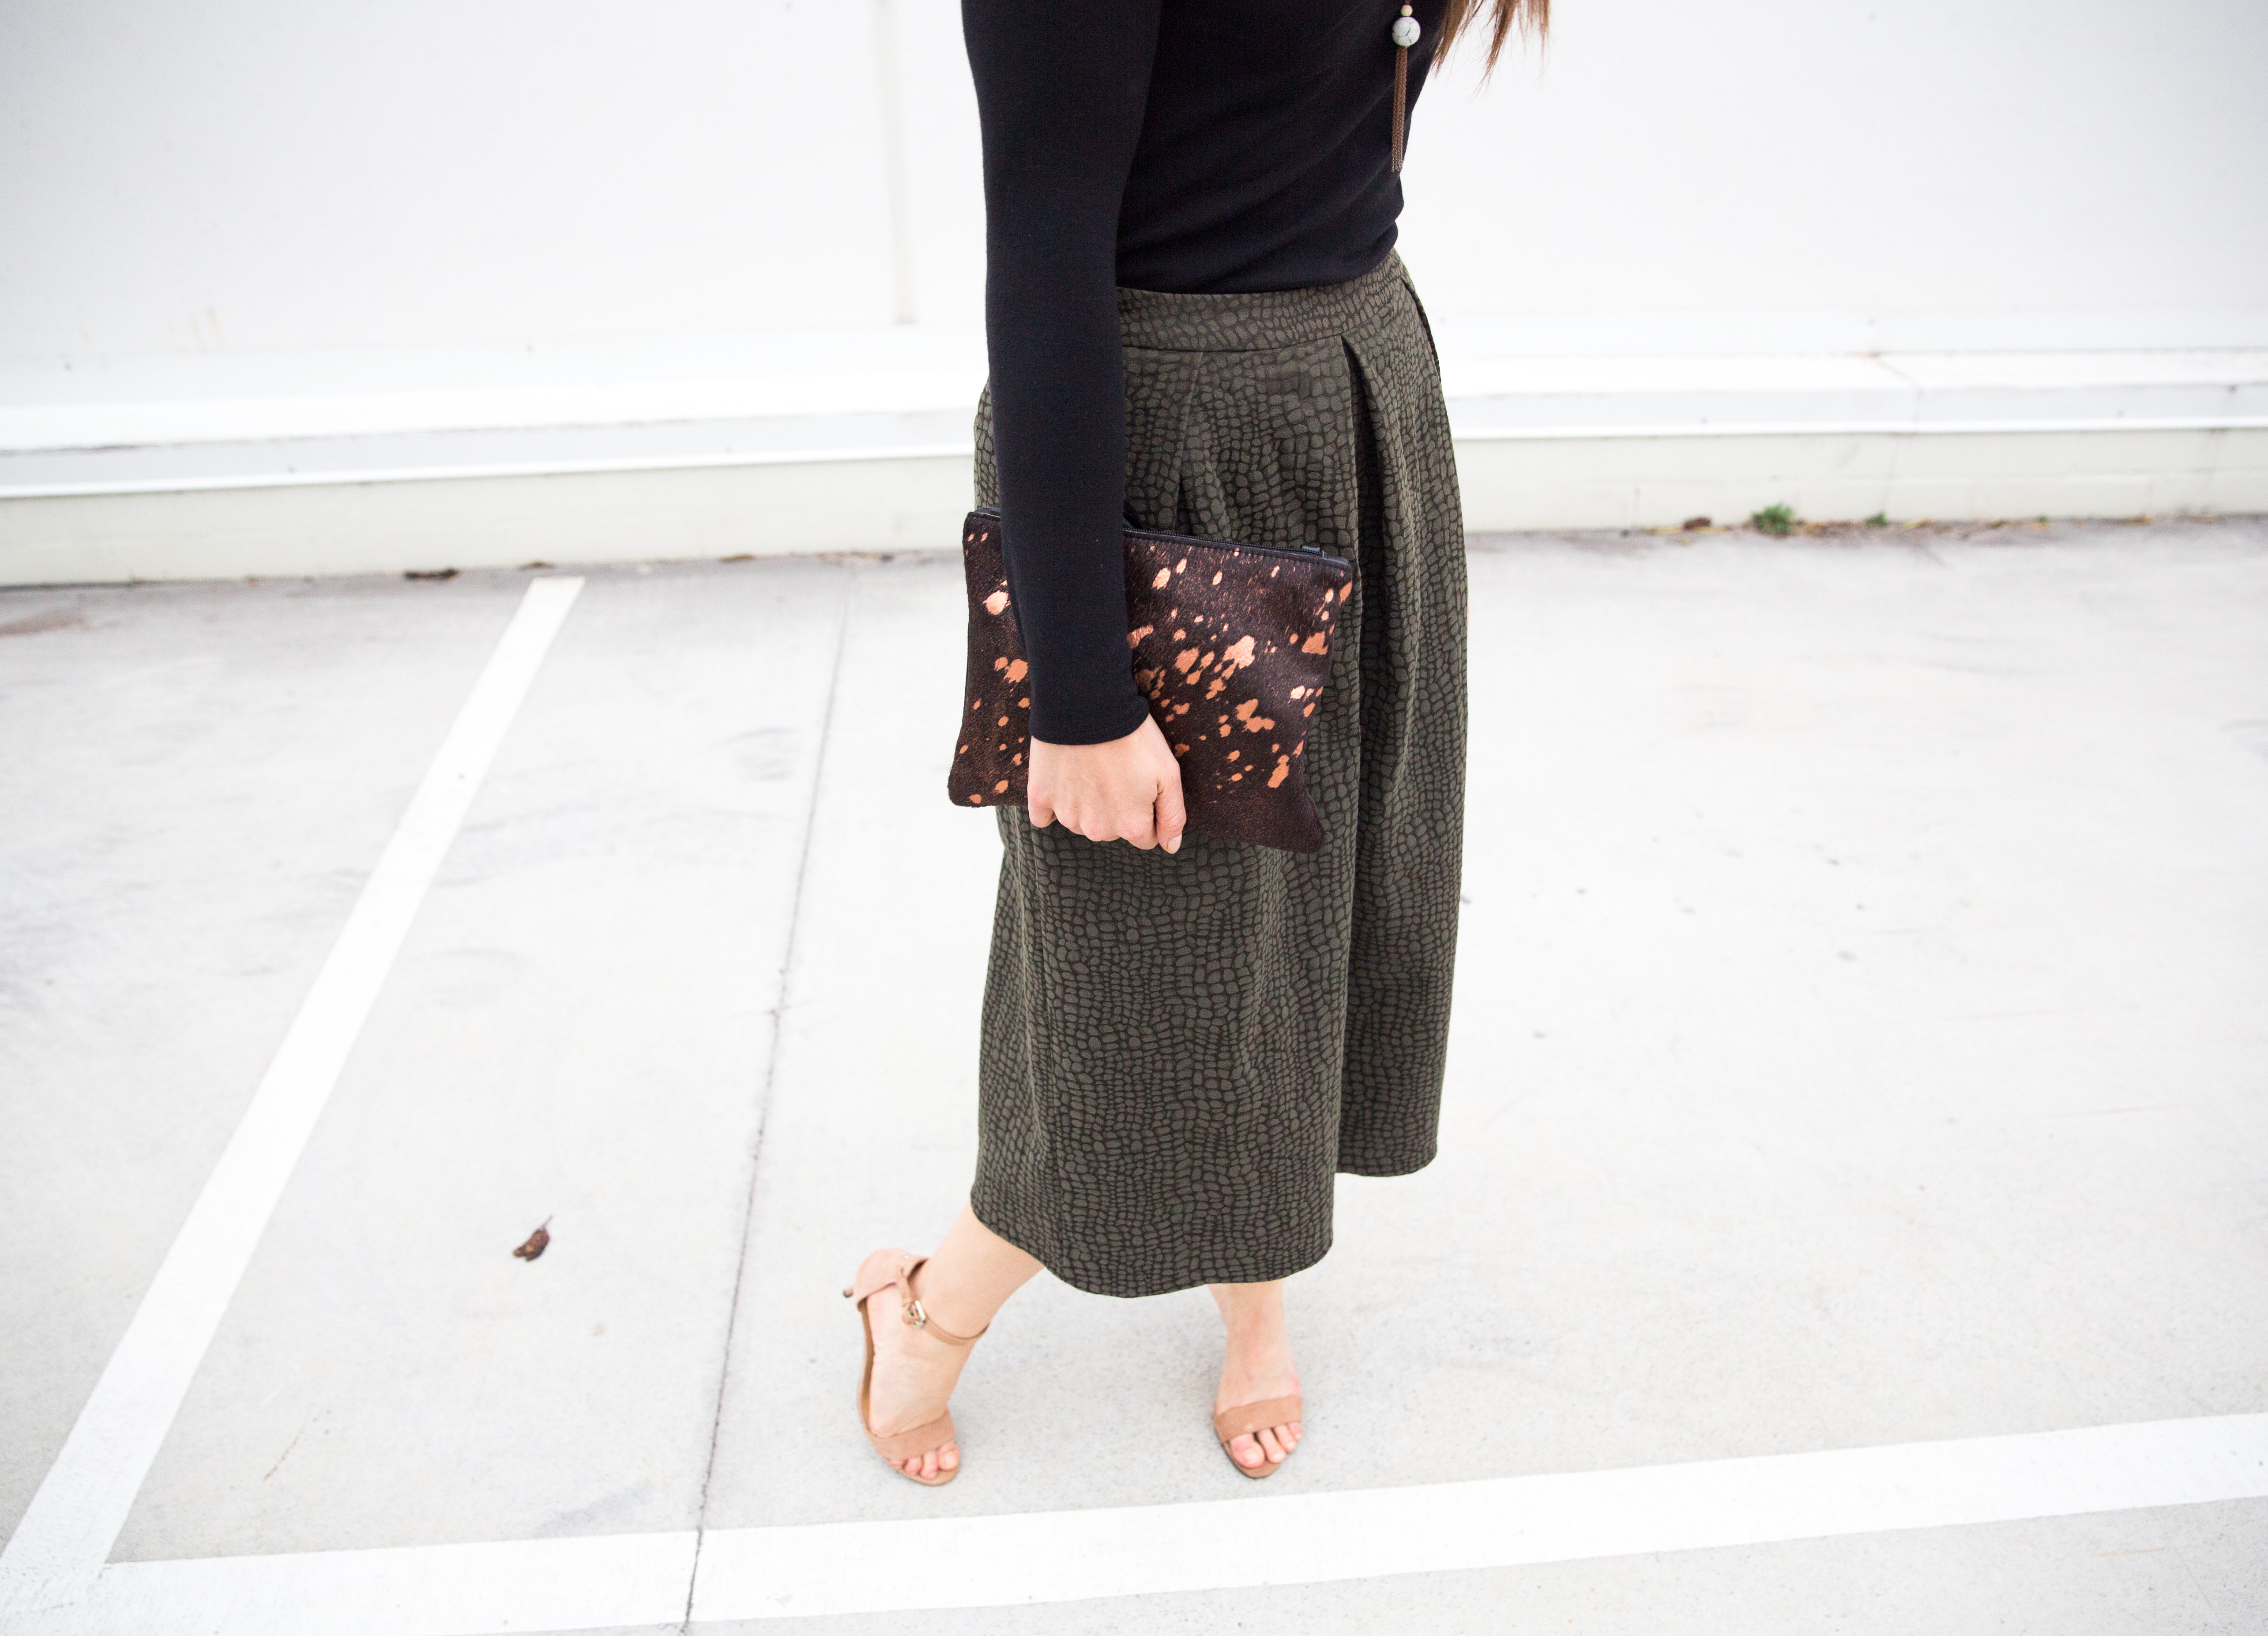 When choosing a culotte pattern, it’s important to know where you stand on pleats. You can have no pleats, a dash of pleats, or shimmy right on down to pleat town. These are your options and it’s a personal choice but consider this: pleats add volume, not just in the pleat itself but that extra fabric all has to end up in the width of the pants at the base too. I’m partial to some detailing at the front, yes, but also aware it’s only one hop and a pleat away from the culottes-come-parachute look at any time.
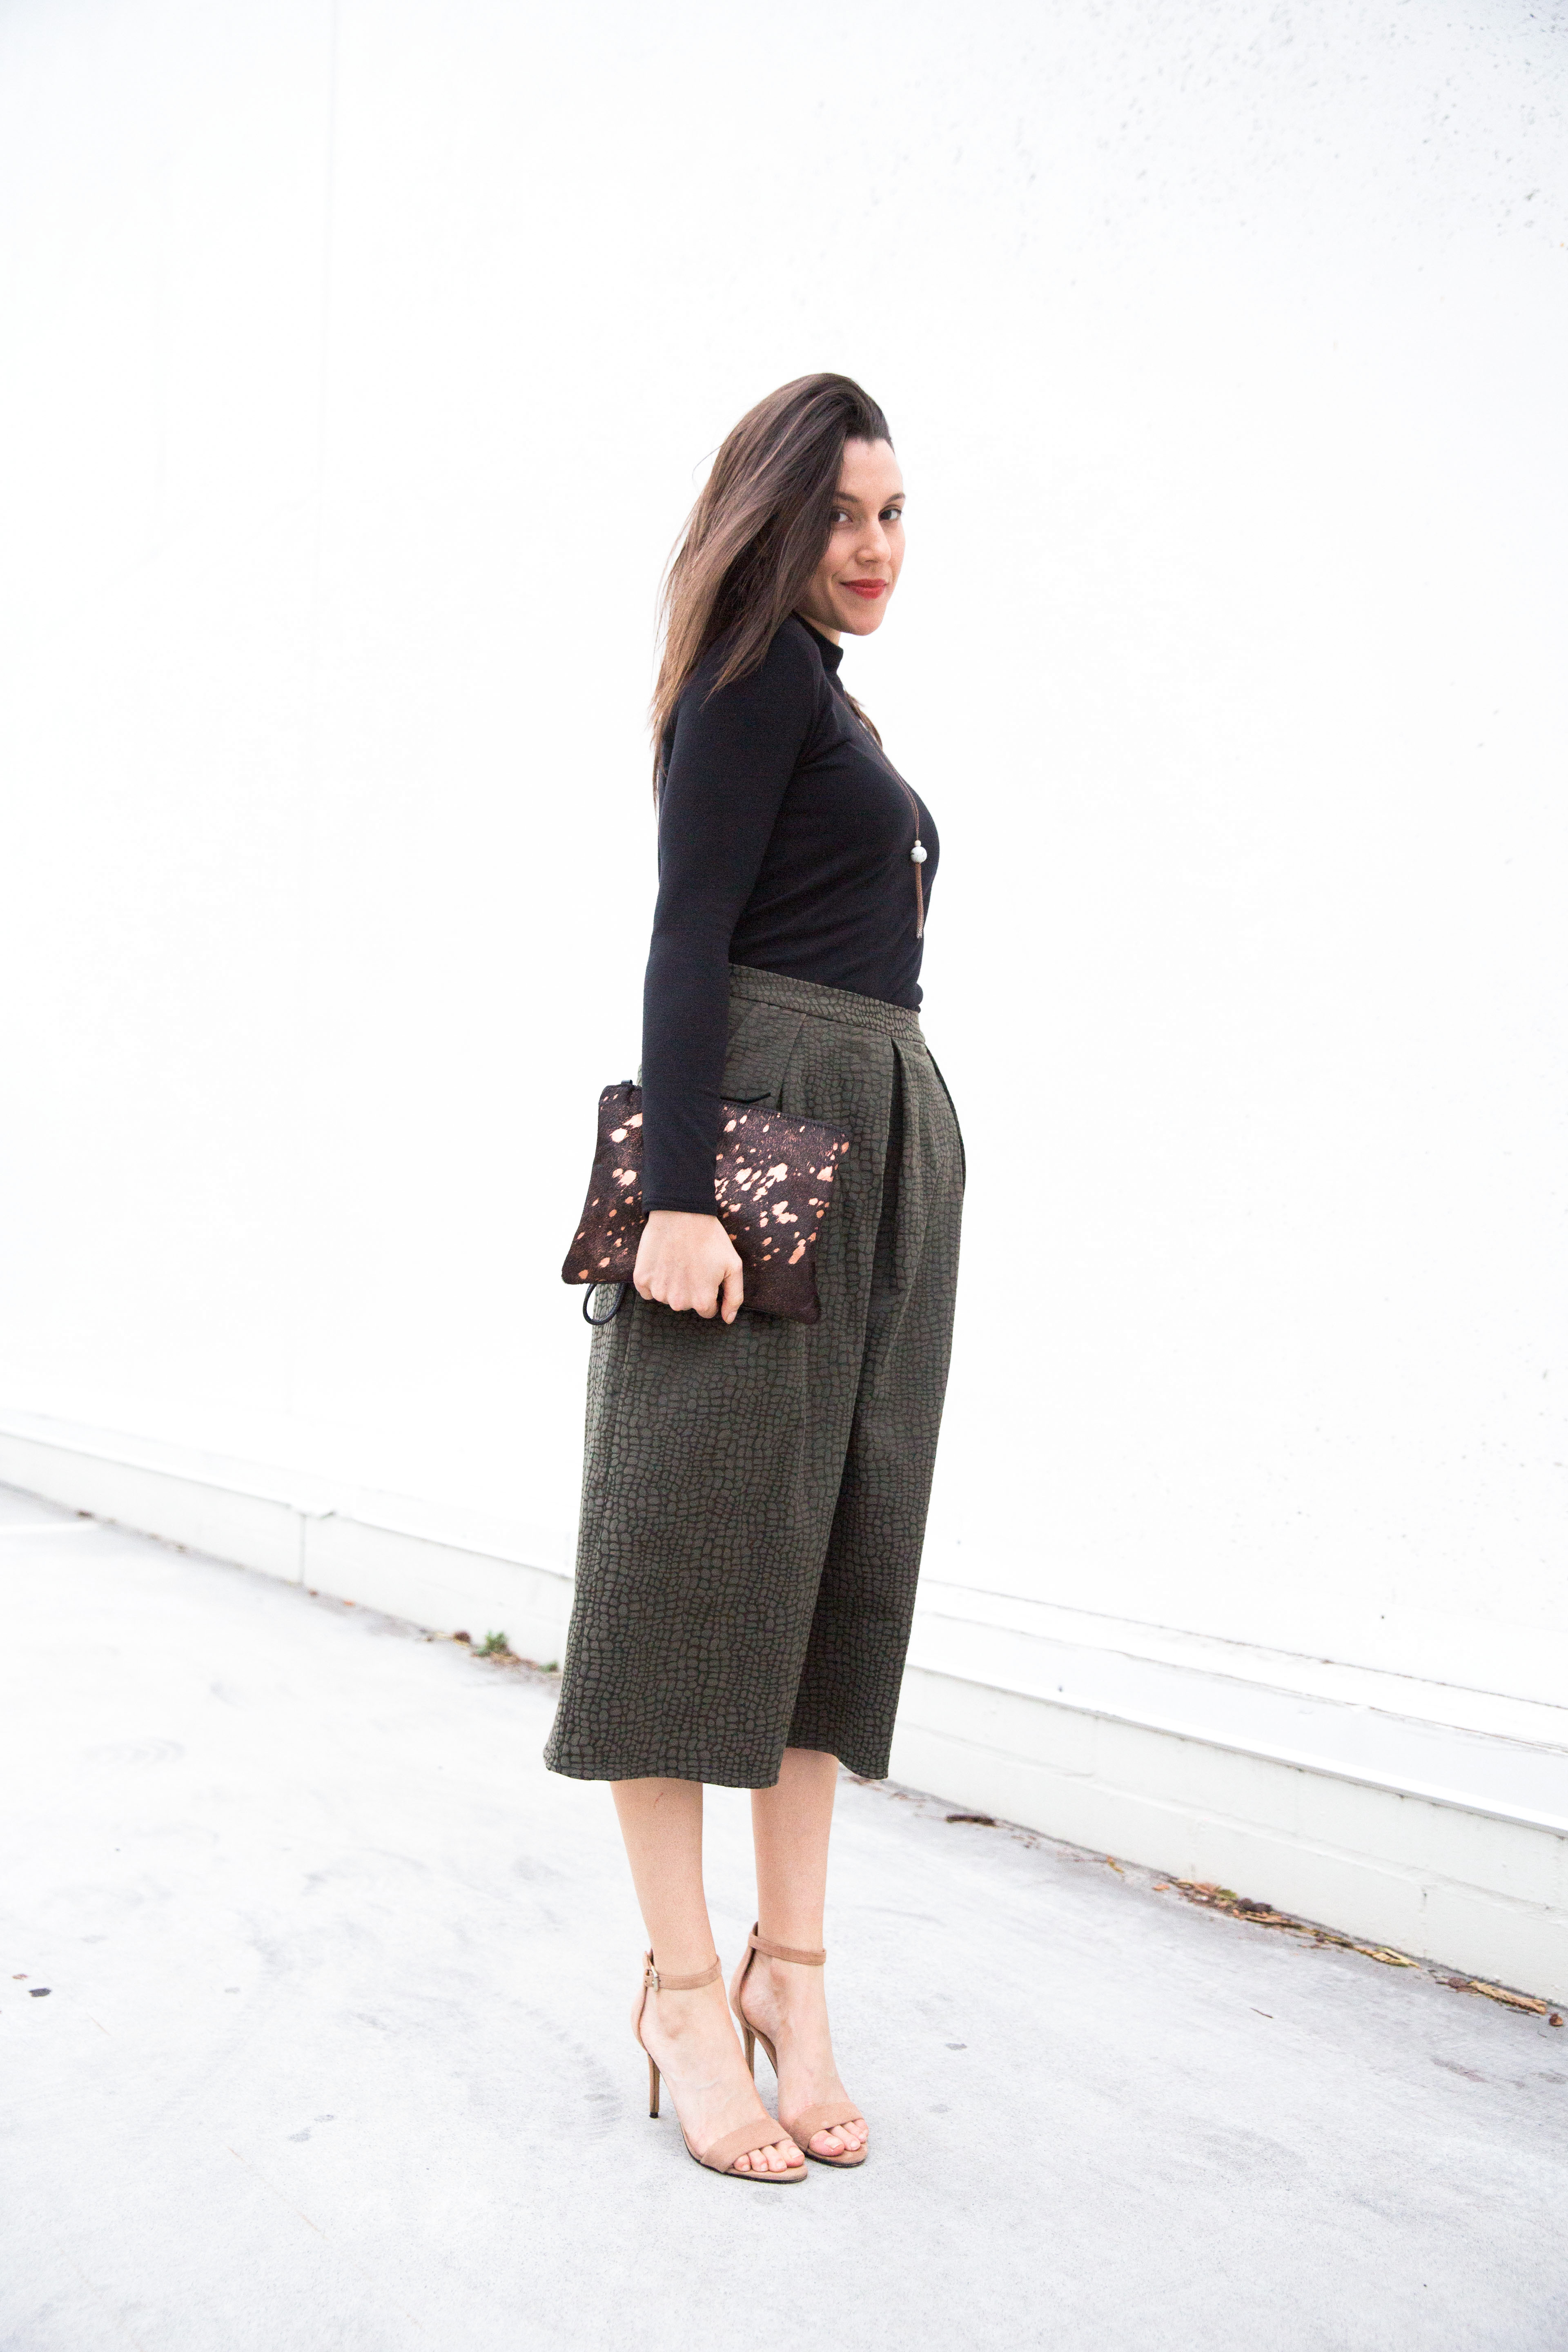
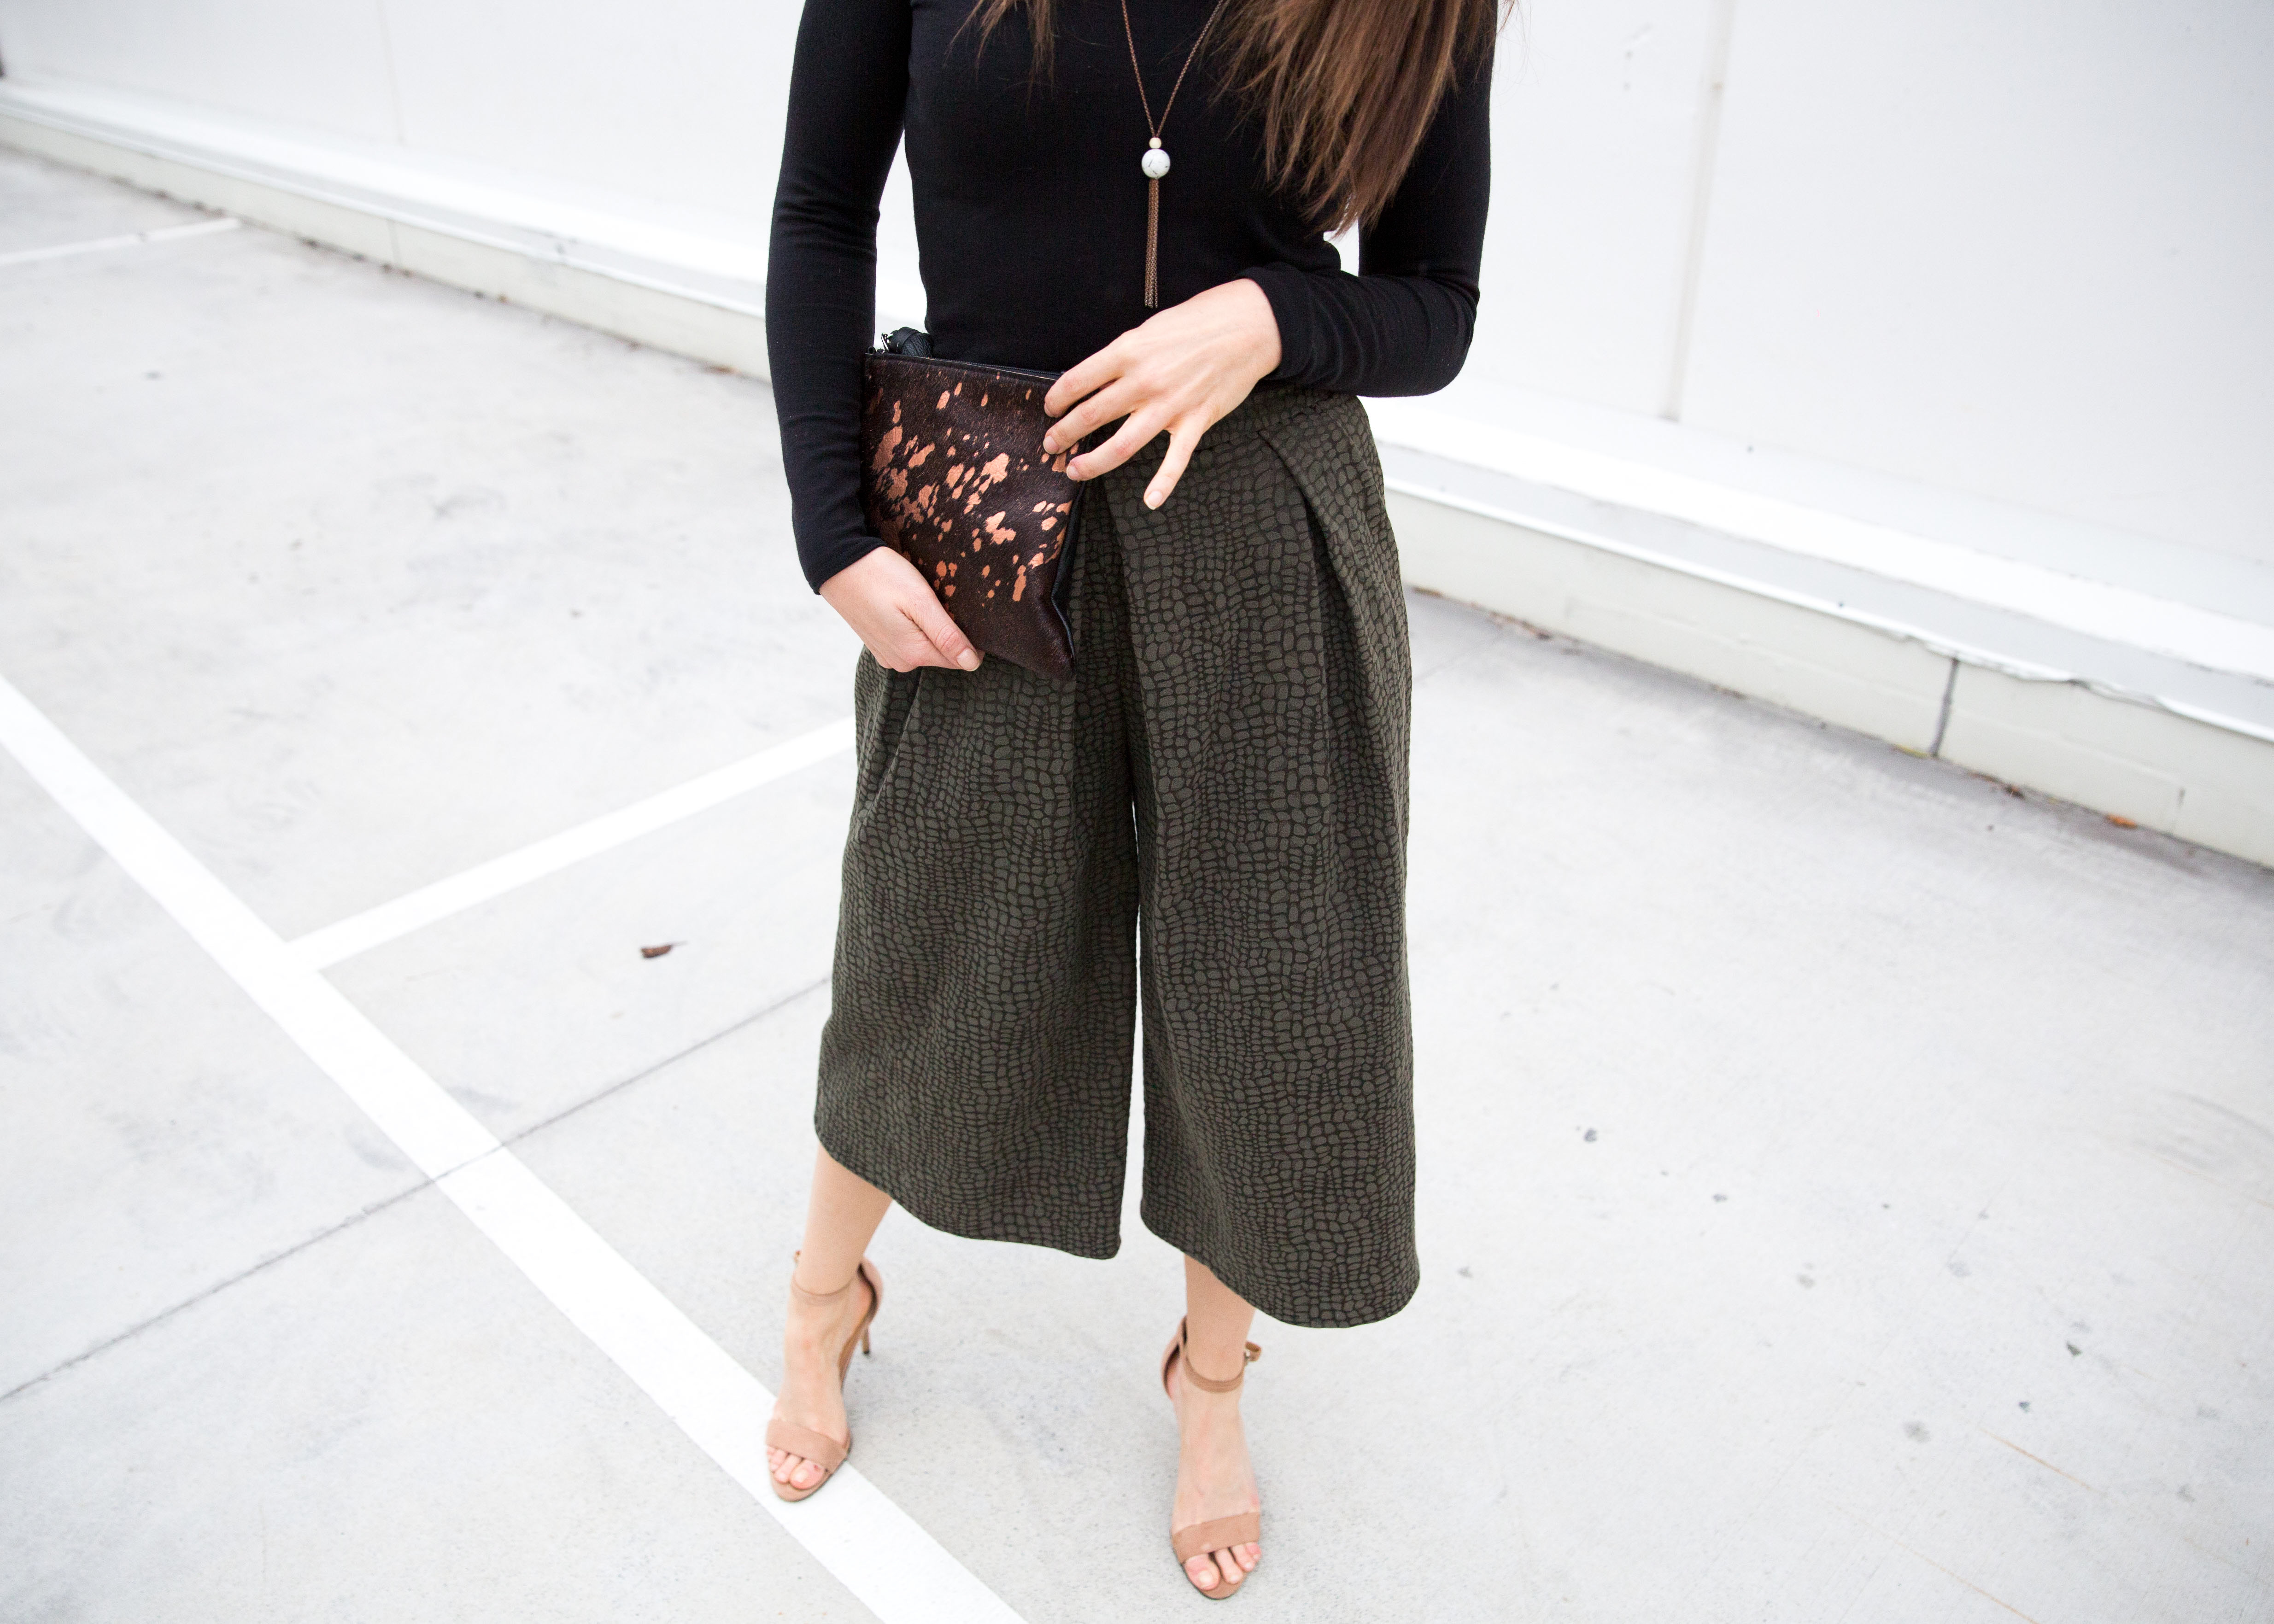
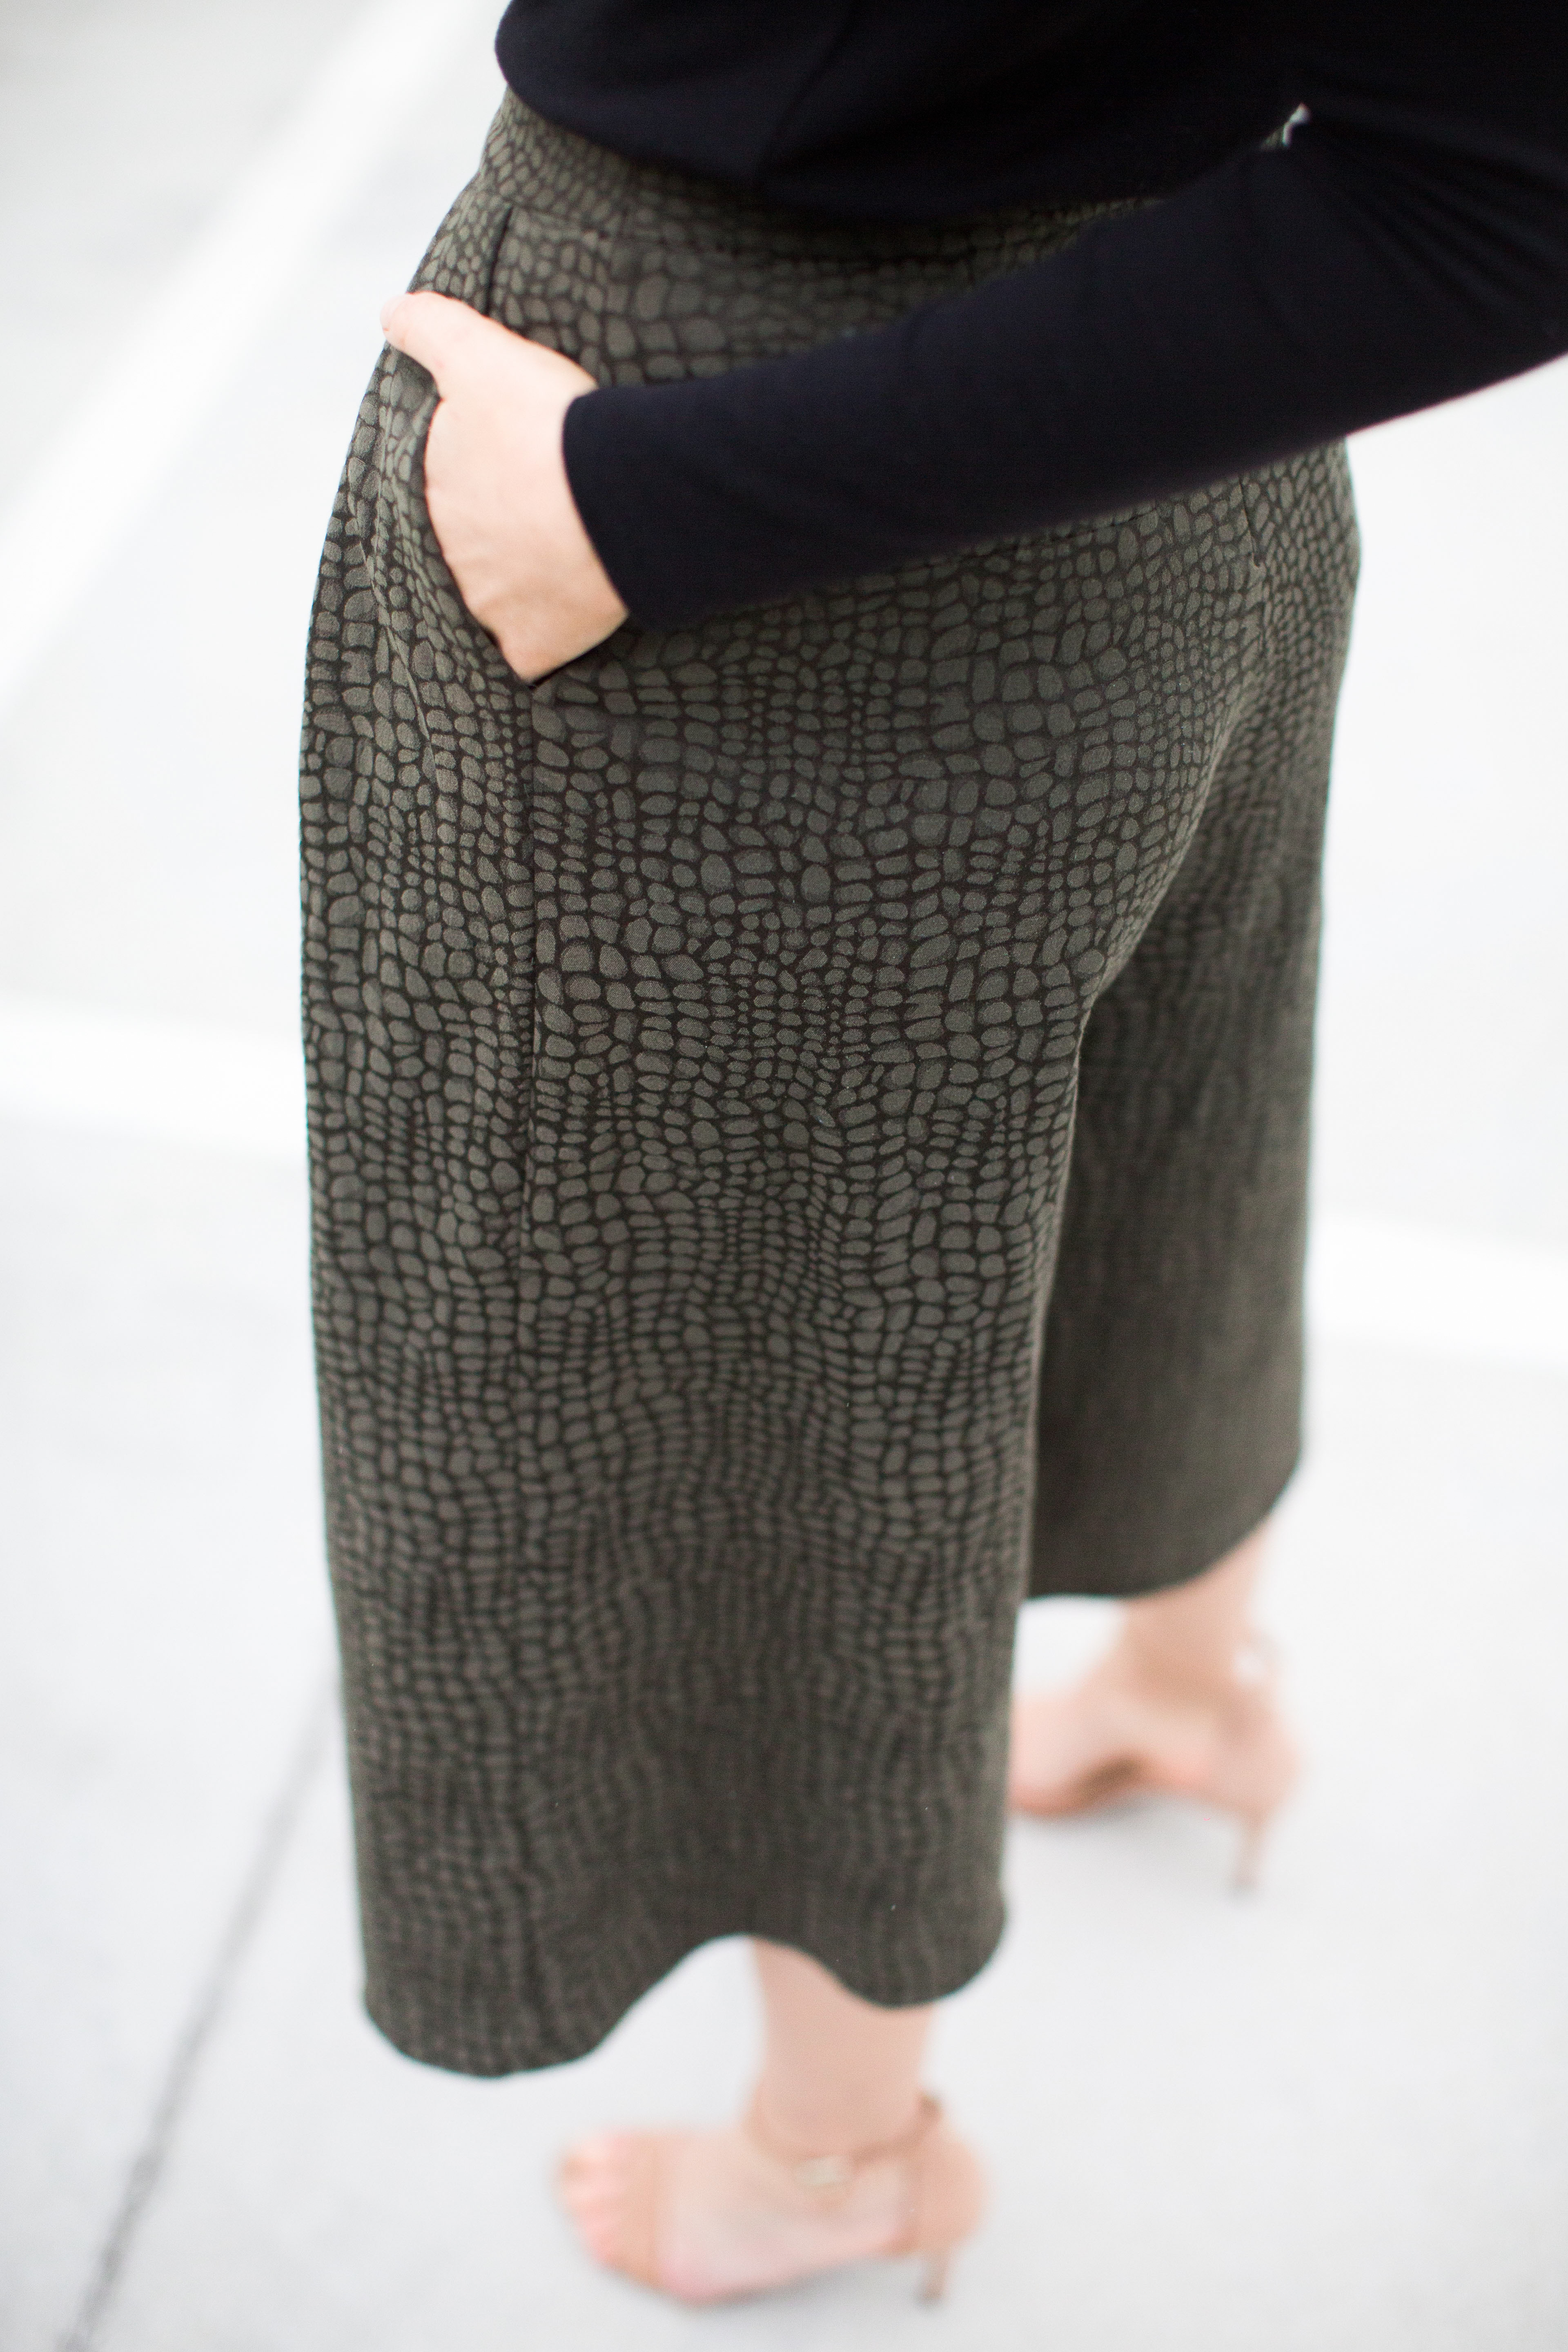 On the scale of pleats, the Erin culottes sit nicely around the middle. Literally. The slanted side pockets become part of the side pleats and then there’s a hidden, deeper pleat in centre front. The result gives some interest and detail whilst maintaining a mostly flat front. The pattern makes up beautifully in a drapey woven, as you can see in this white crepe version from the original pattern. But then I was also moved by Sallieoh’s version made from fabric with obvious body. After my first two forays into culottes were more novelty (egg yolk and upholstery) than wearable I decided to get serious and make pair that I would wear.
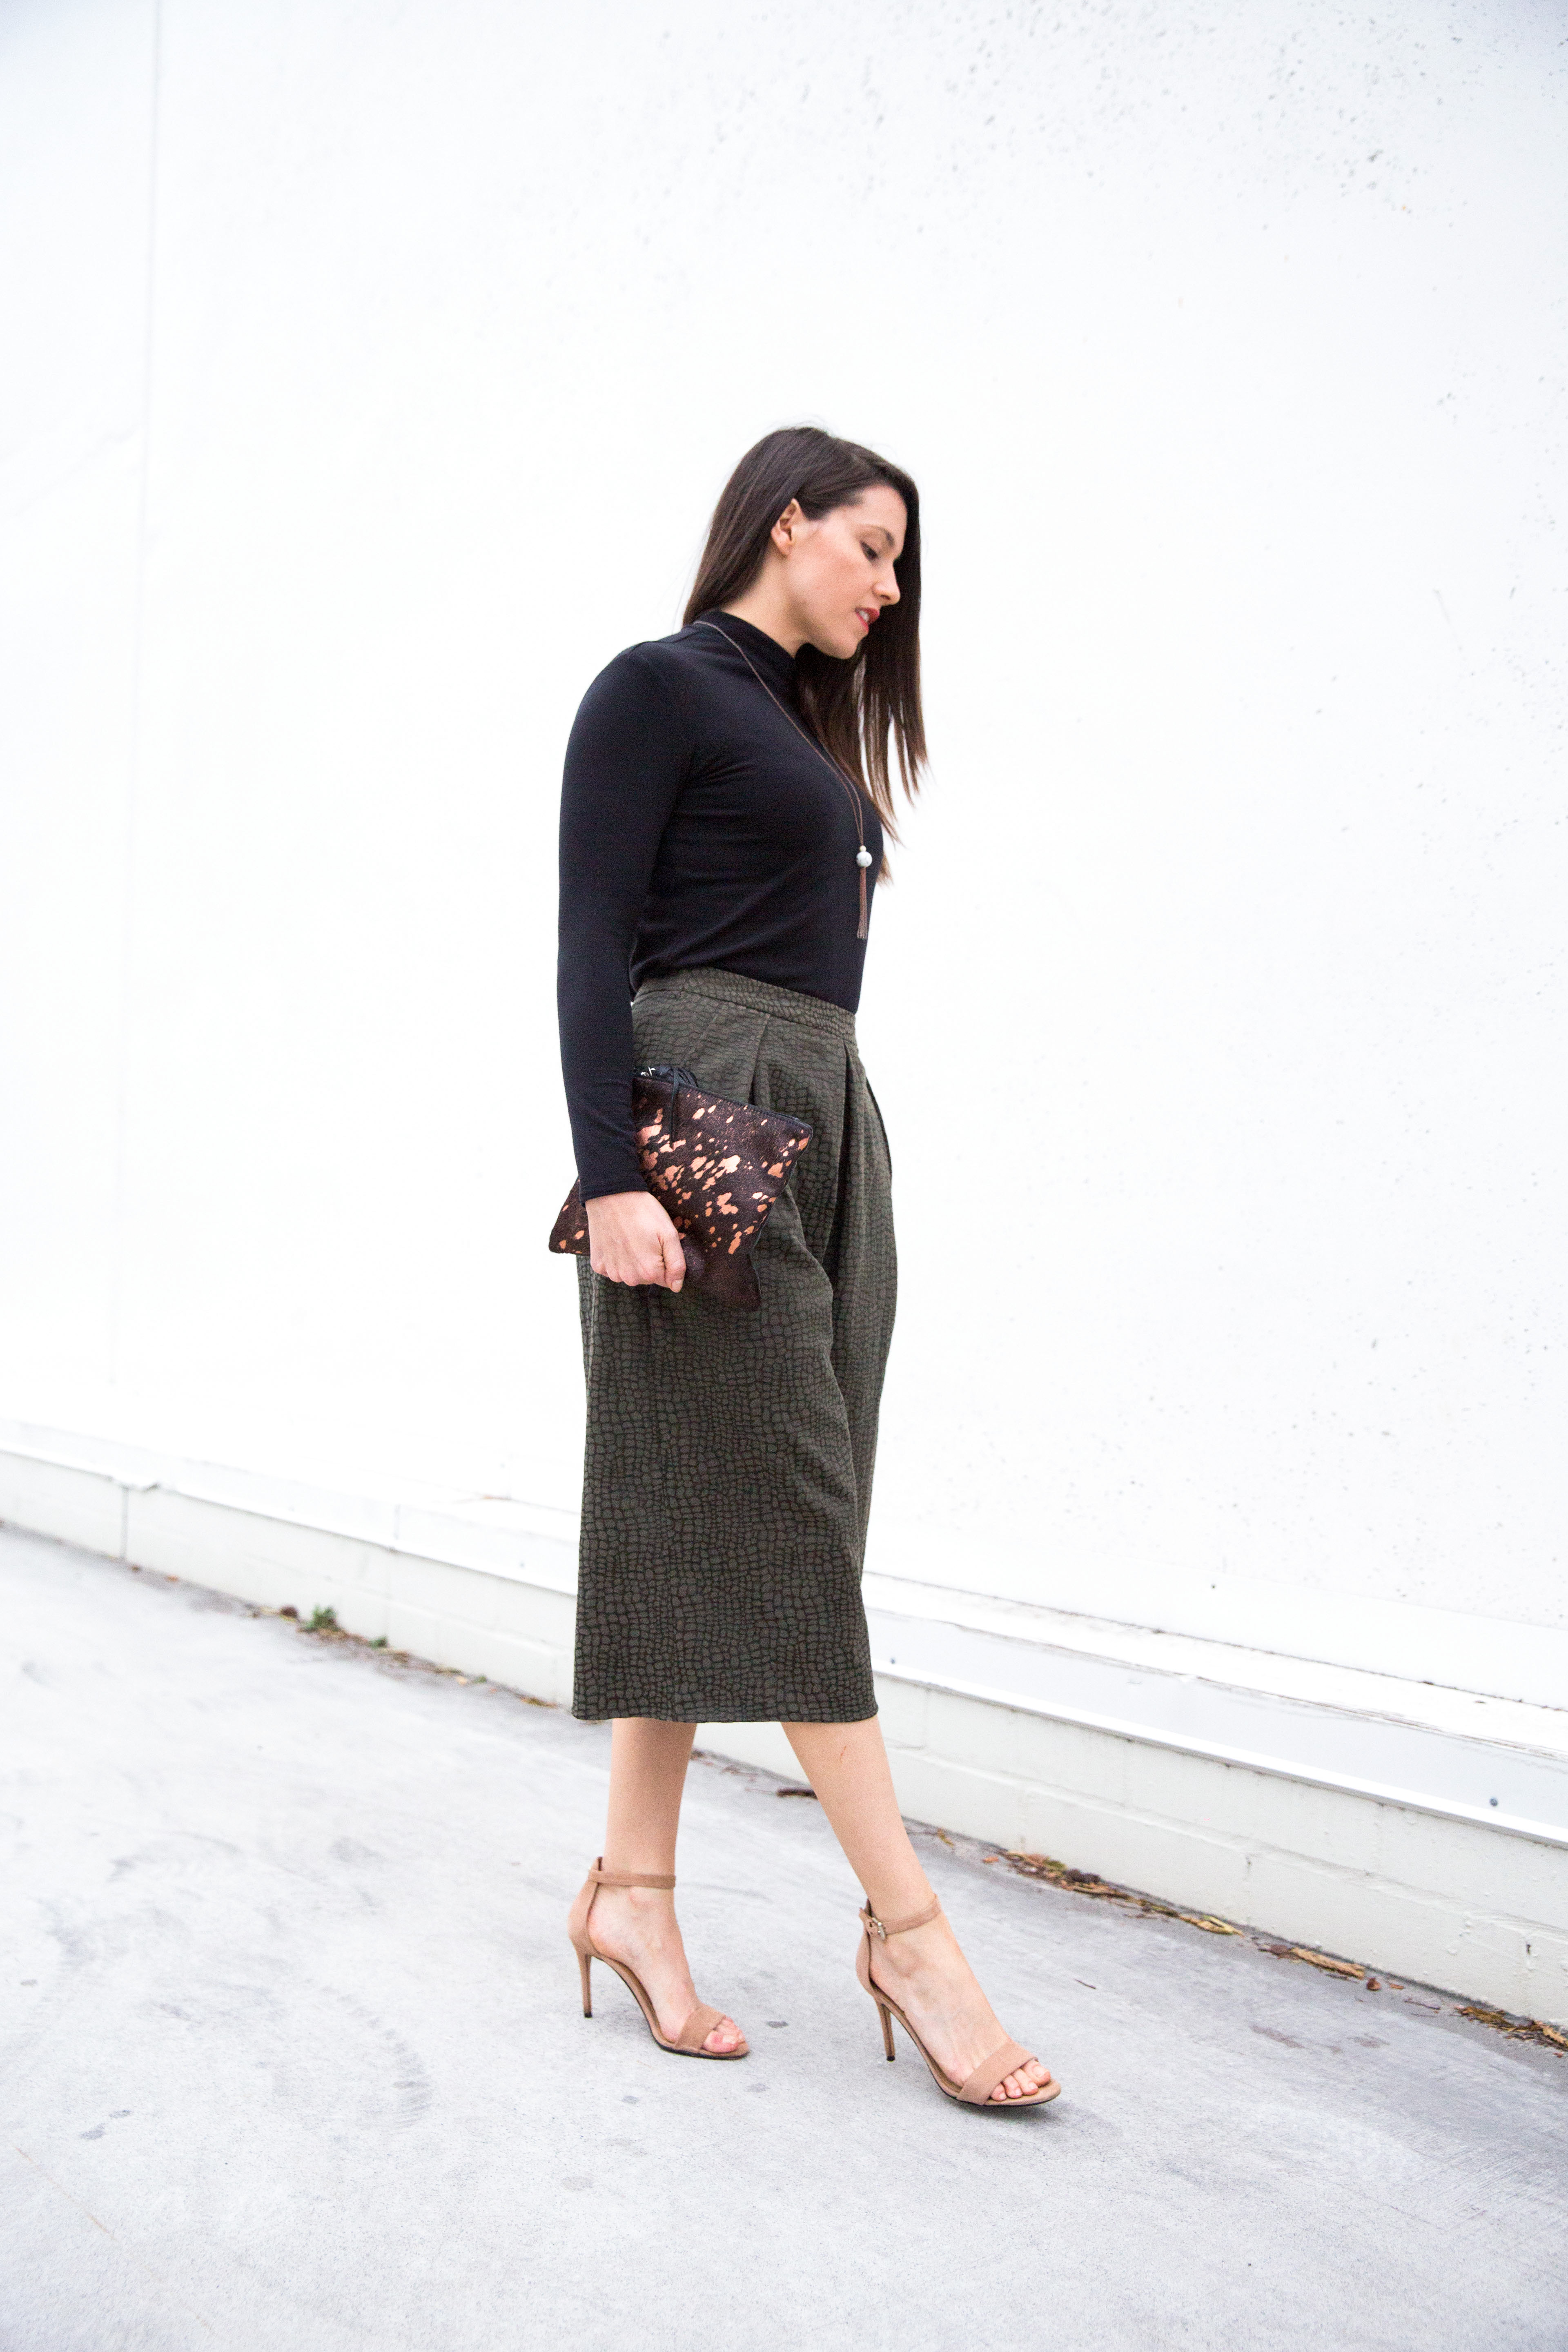 For the fabric, I was imagining something subtle and textured to make a classic winter culotte to pair with cosy knitwear. This cotton blend from The Fabric Store, triggered a vague sense of out of body-ness at the realisation I was about to buy something so khaki and muted. However, the combination of colour, knobbly texture and good bottom weight made them look decidedly un-hand-made, which I suspect is why I wear them all the time.
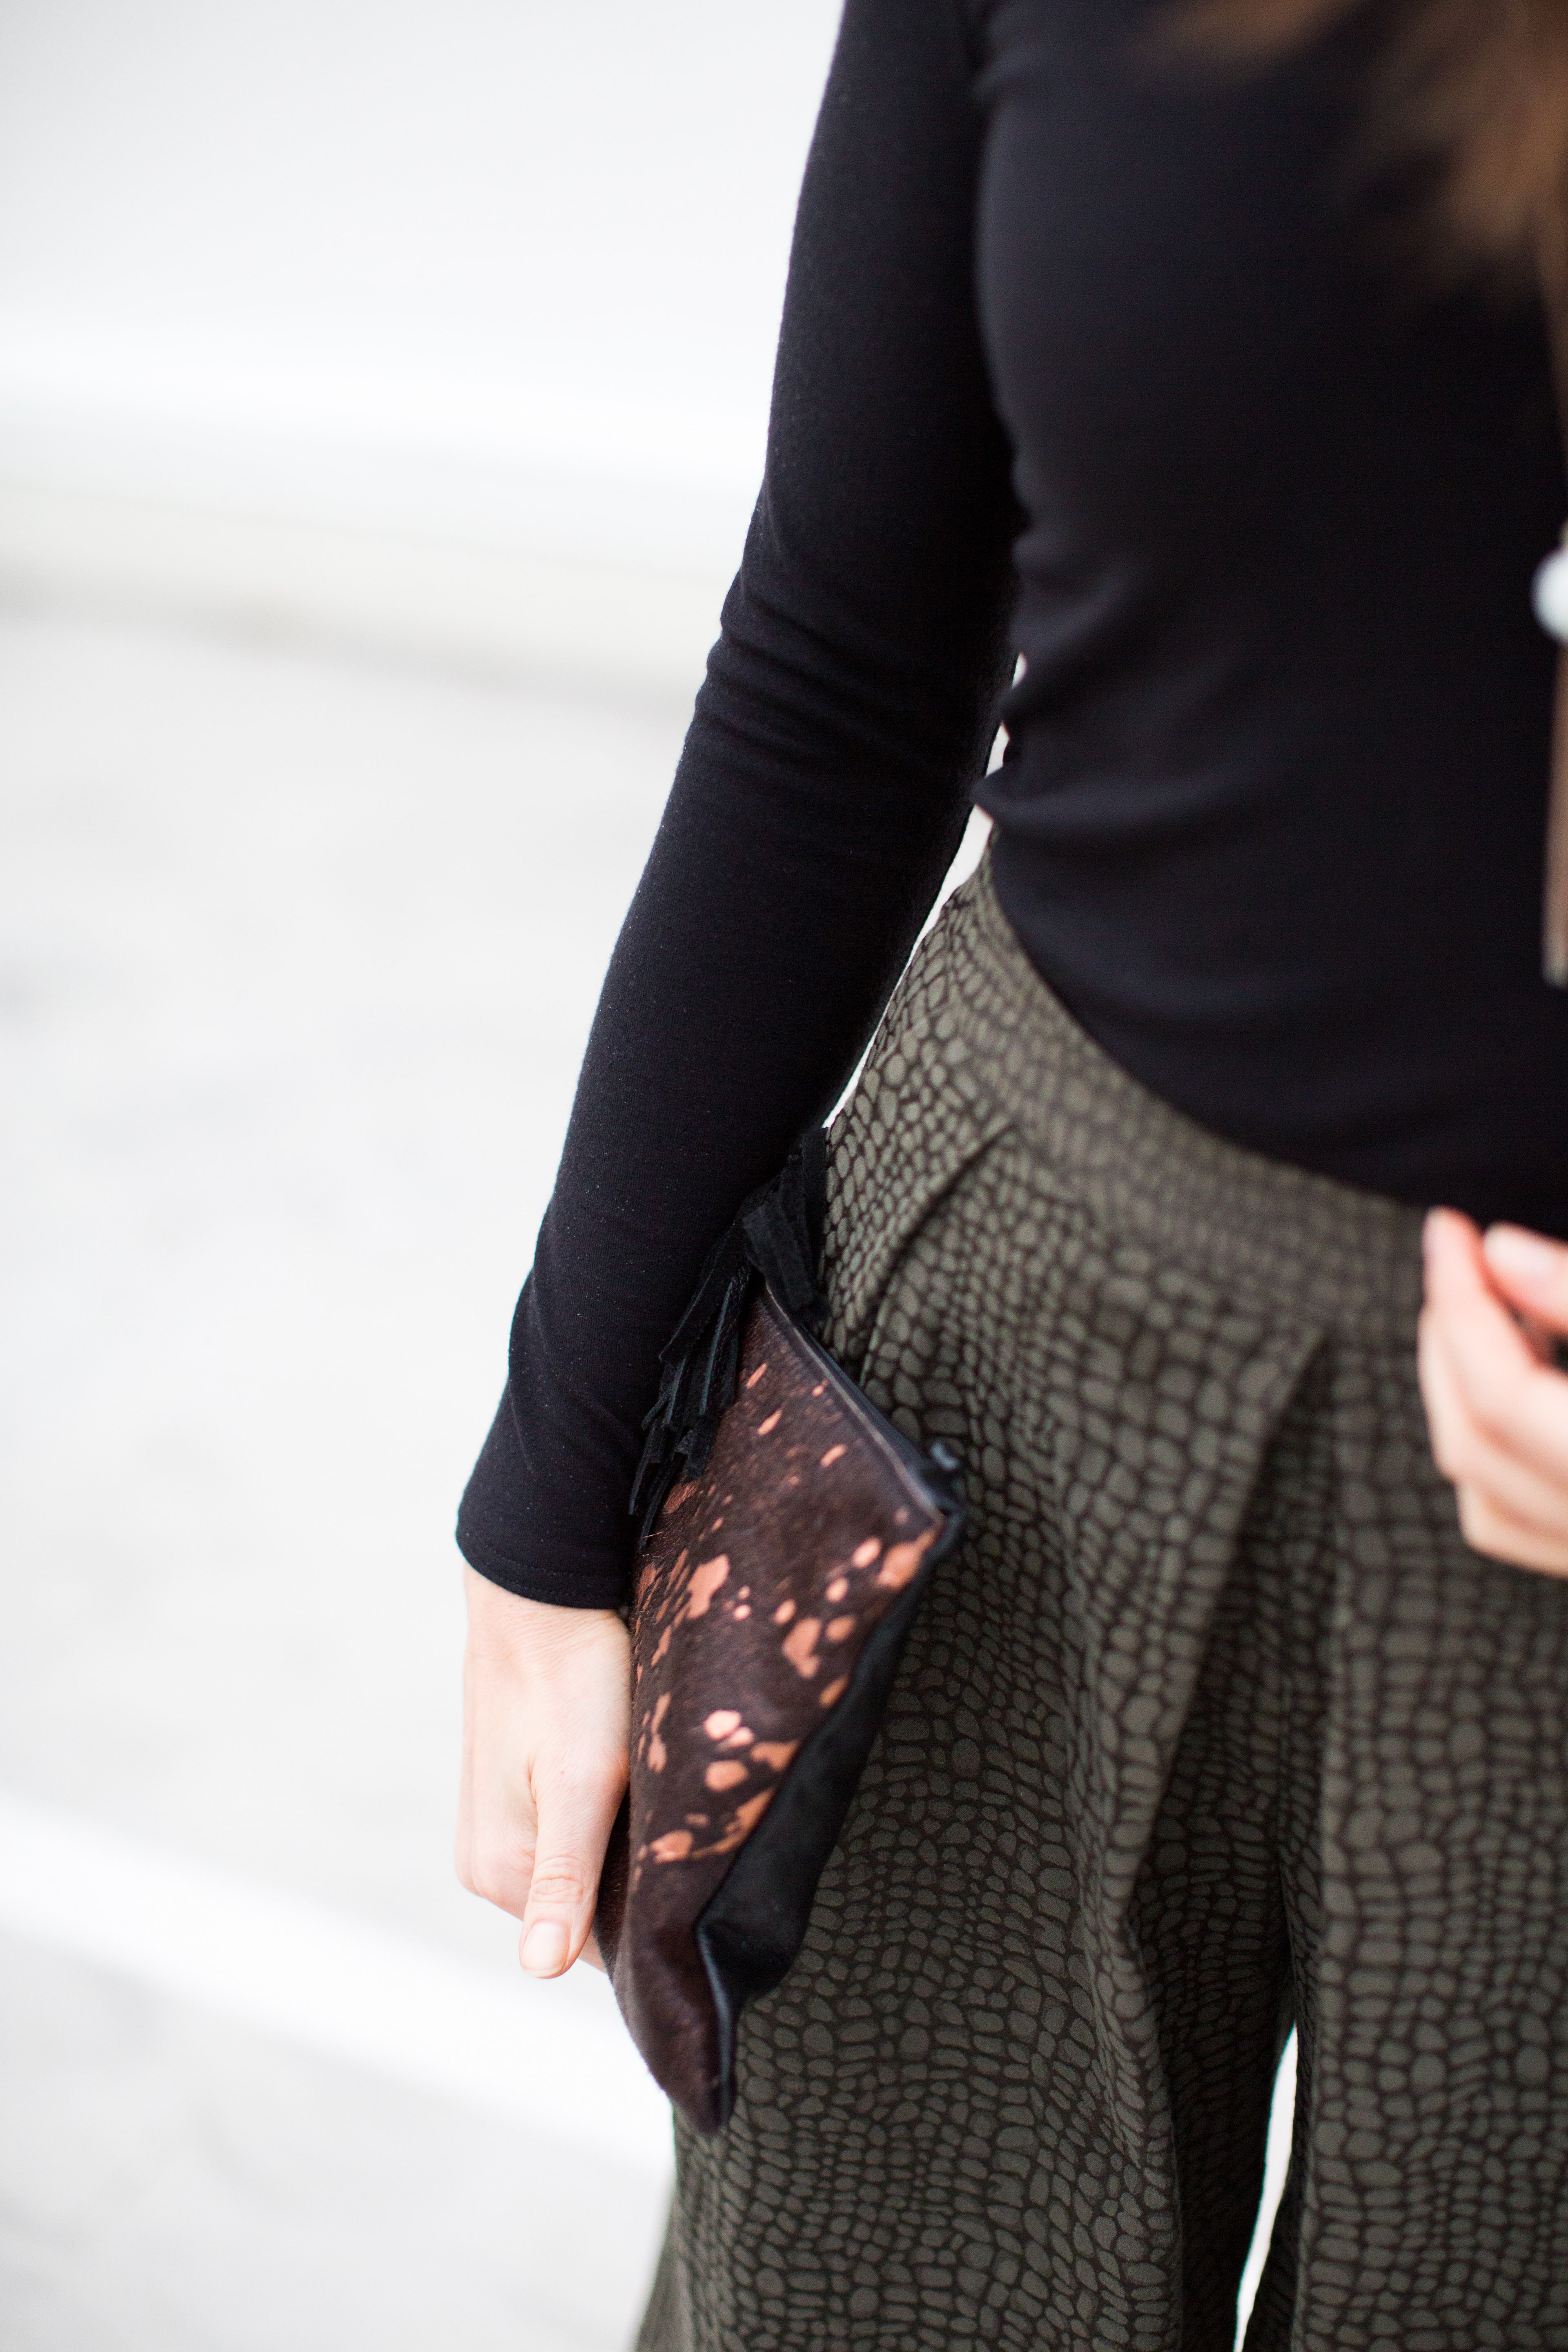 Sizing wise, I made my usual Style Arc size 8 (normally vogue 12ish, to give you an idea of the difference). They ended up roomy enough that I had to take them in through the waist and hips. The one thing I didn’t love about the pattern is the curved waistband. I feel like the way the fabric is sitting at the front pleats, it really wants to be hanging off a straight waistband and then sit on the waist. I feel like comfort-wise I want things to sit high waisted or on the hips, not in between. However because the pattern is designed to sit at the natural waist, it makes sense to have a curved waistband. I suspect it’s also better suited to lighter fabrics that won’t drag on the waistband, as in the original pattern version. A good press might help too, who was responsible for that?
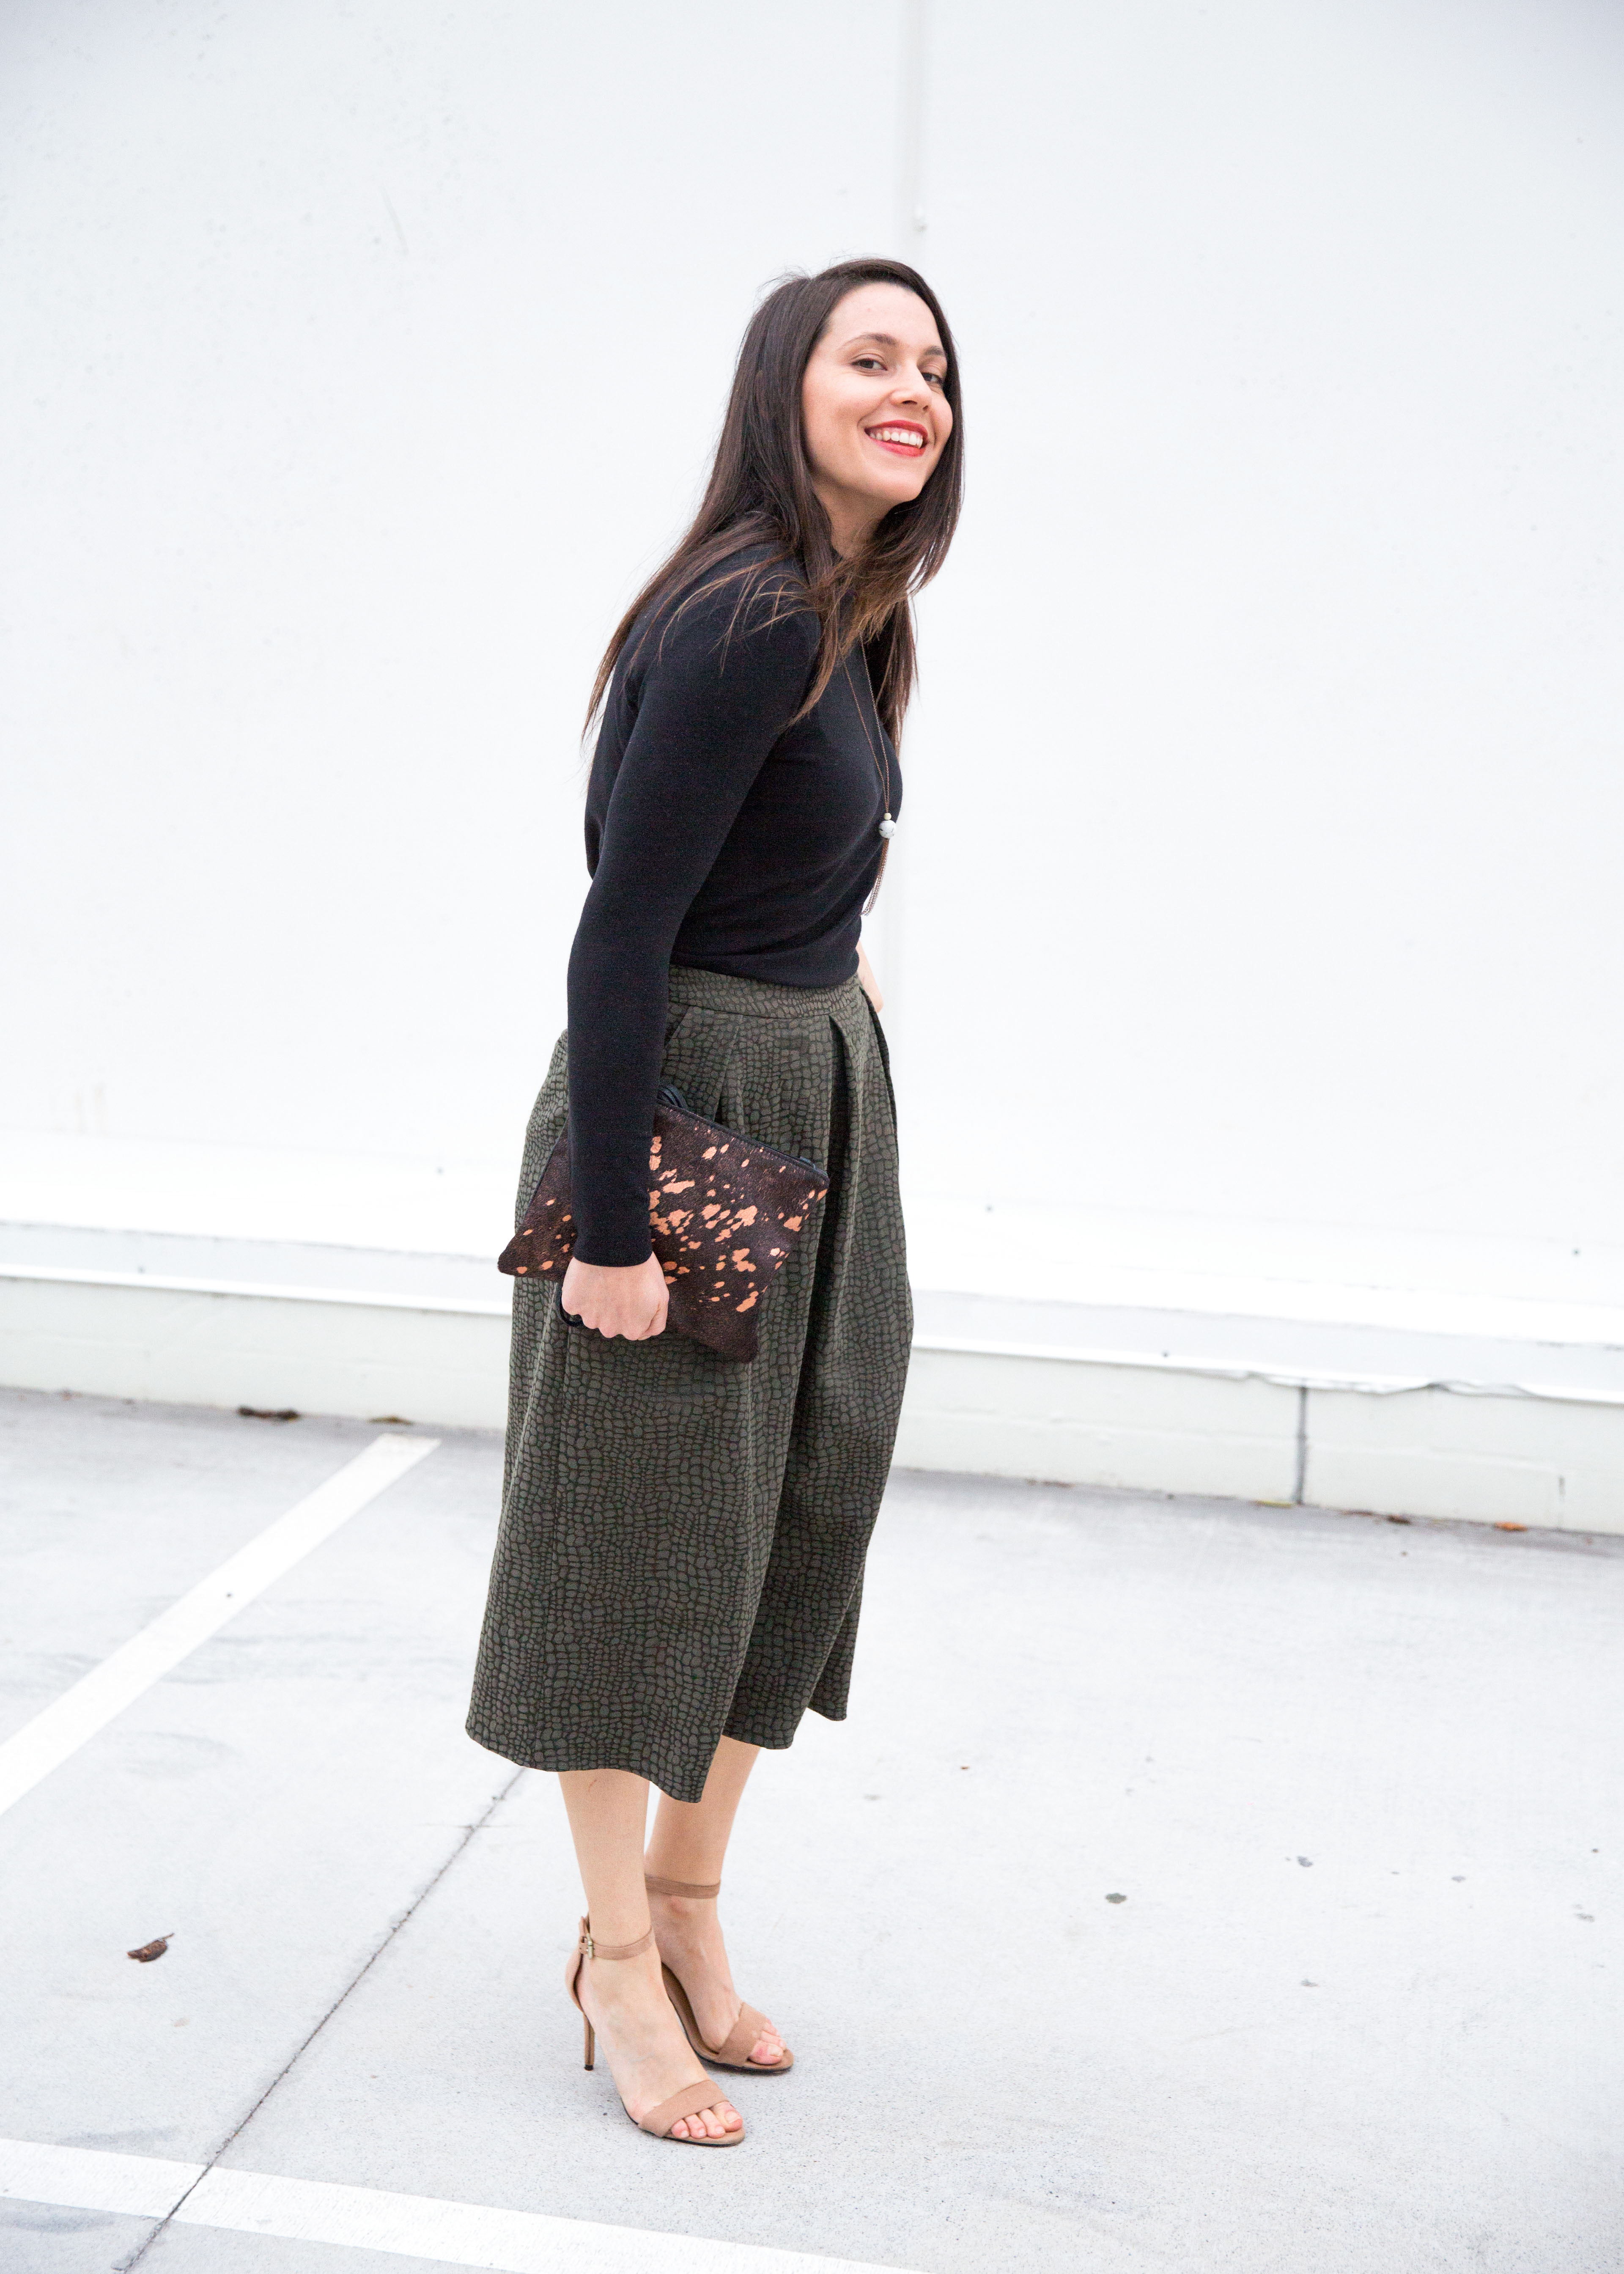
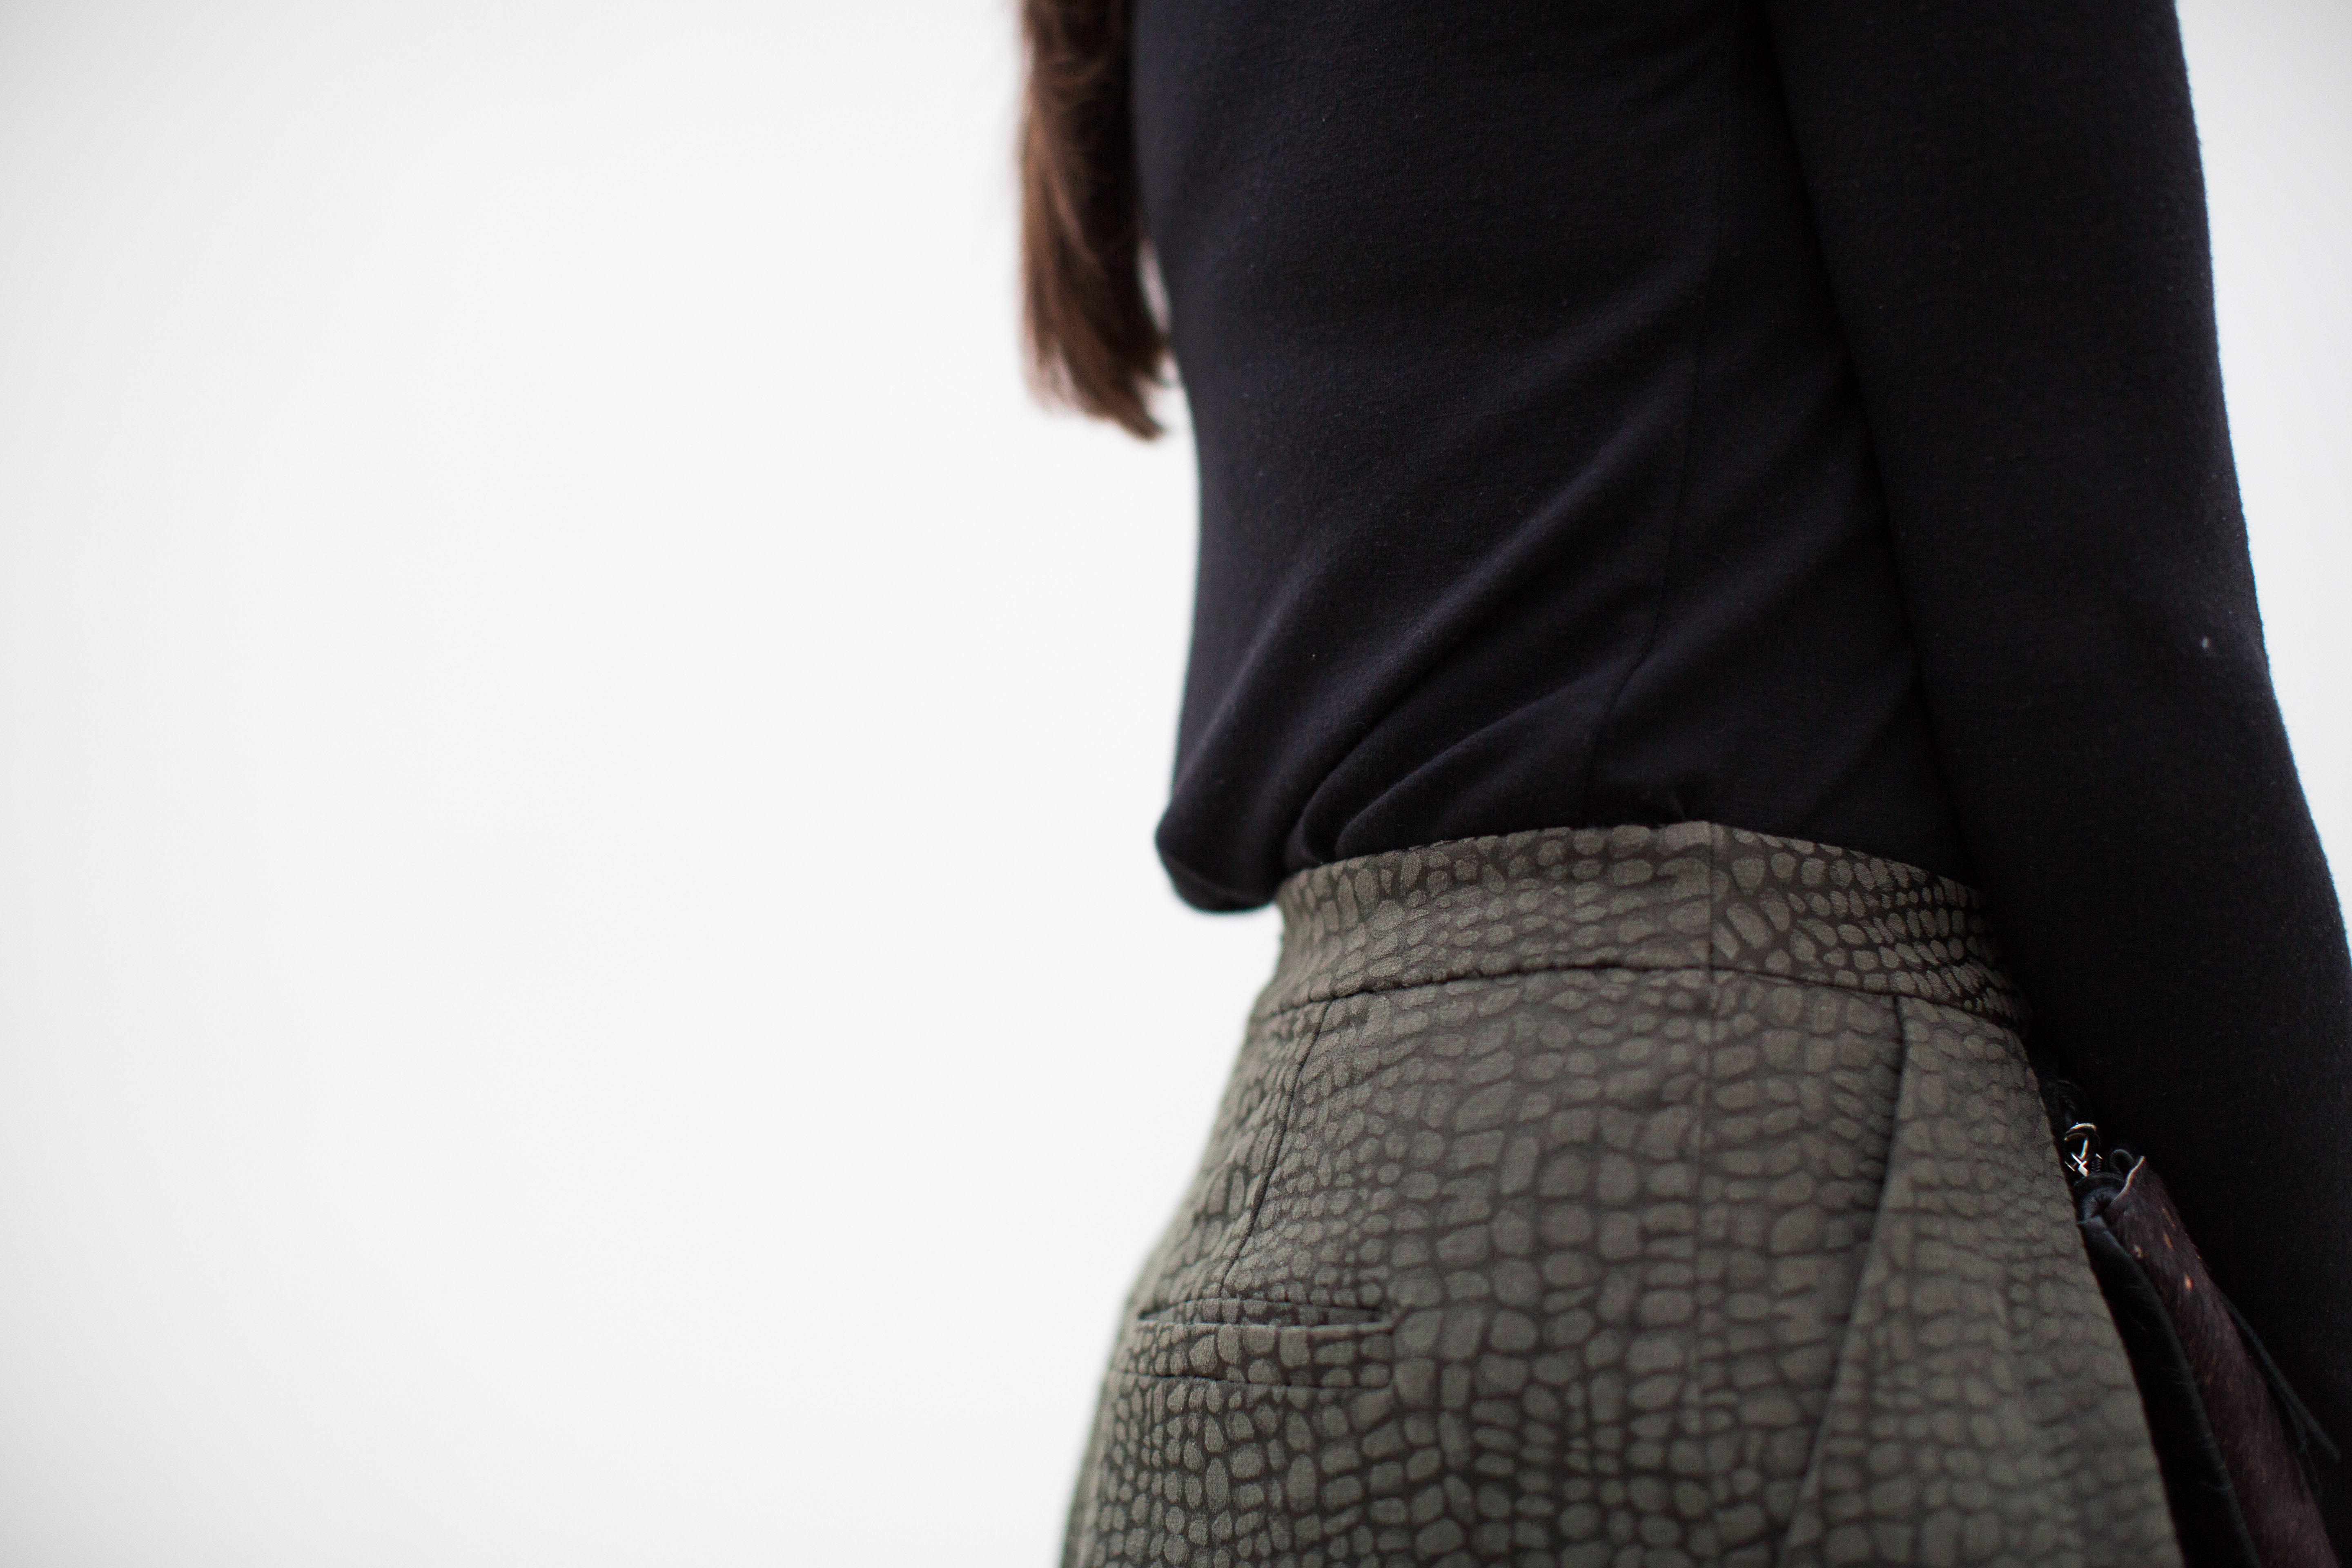 The only mod I made was to add welt pockets using this tutorial. It’s my go to! There’s nothing, apart from a good solid stitch in the ditch, that feels as sexy as getting a welt pocket right. It’s legit. Any day now, my welt pocket scout badge will turn up in the mail, I can feel it. Like all new skills in sewing, underwires, invisible zippers, flys…welt pockets are only made intimidating by sewing folklore. It’s not to be trusted because they’re not to be feared. Once you get your first you’ll want to welt all the things, it’s natural. But try your first welt not on your actual garment…
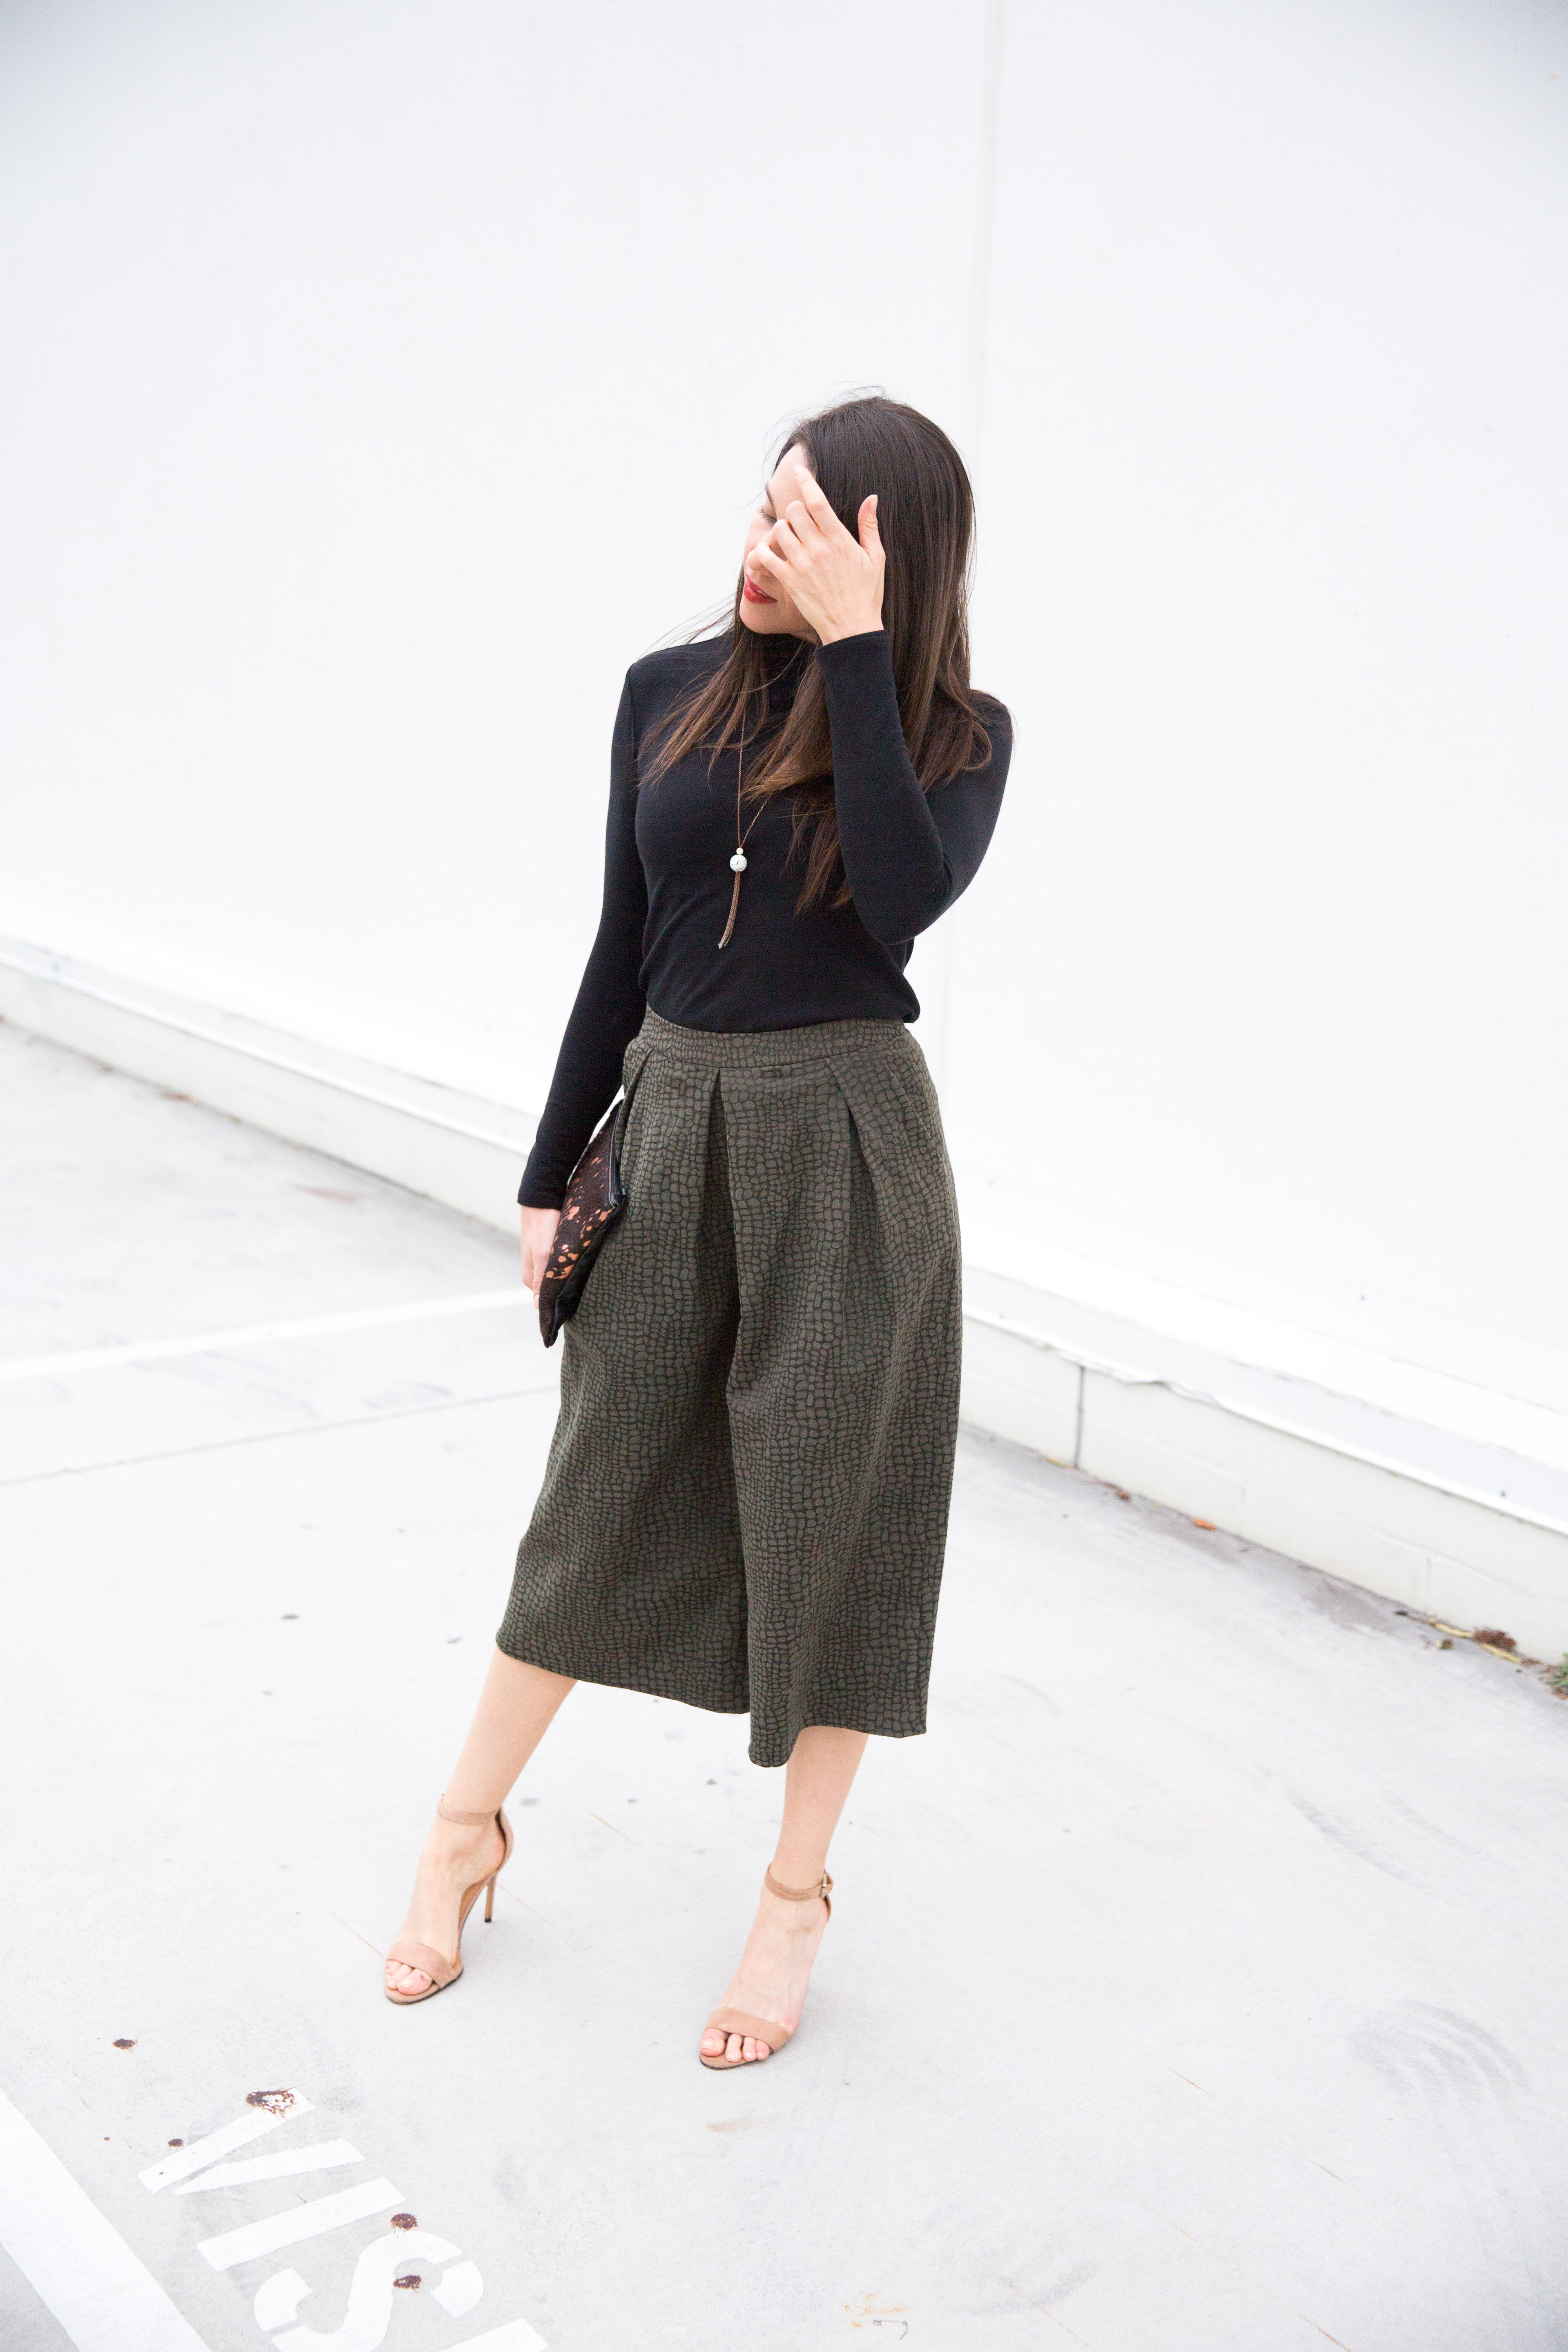 Like Burdastyle, Style Arc instructions were once always light on the illustrations side, but I’ve noticed their more recent patterns include more diagrams at crucial steps, which is ever so nice. This may or may not be related to having some trouble with part of the instructions for the centre front here. As you can see the pleats meet in the middle instead of overlapping like they’re supposed to. The effect is okay, but if you’re making these, follow the instructions, don’t refer to mine for a visual!
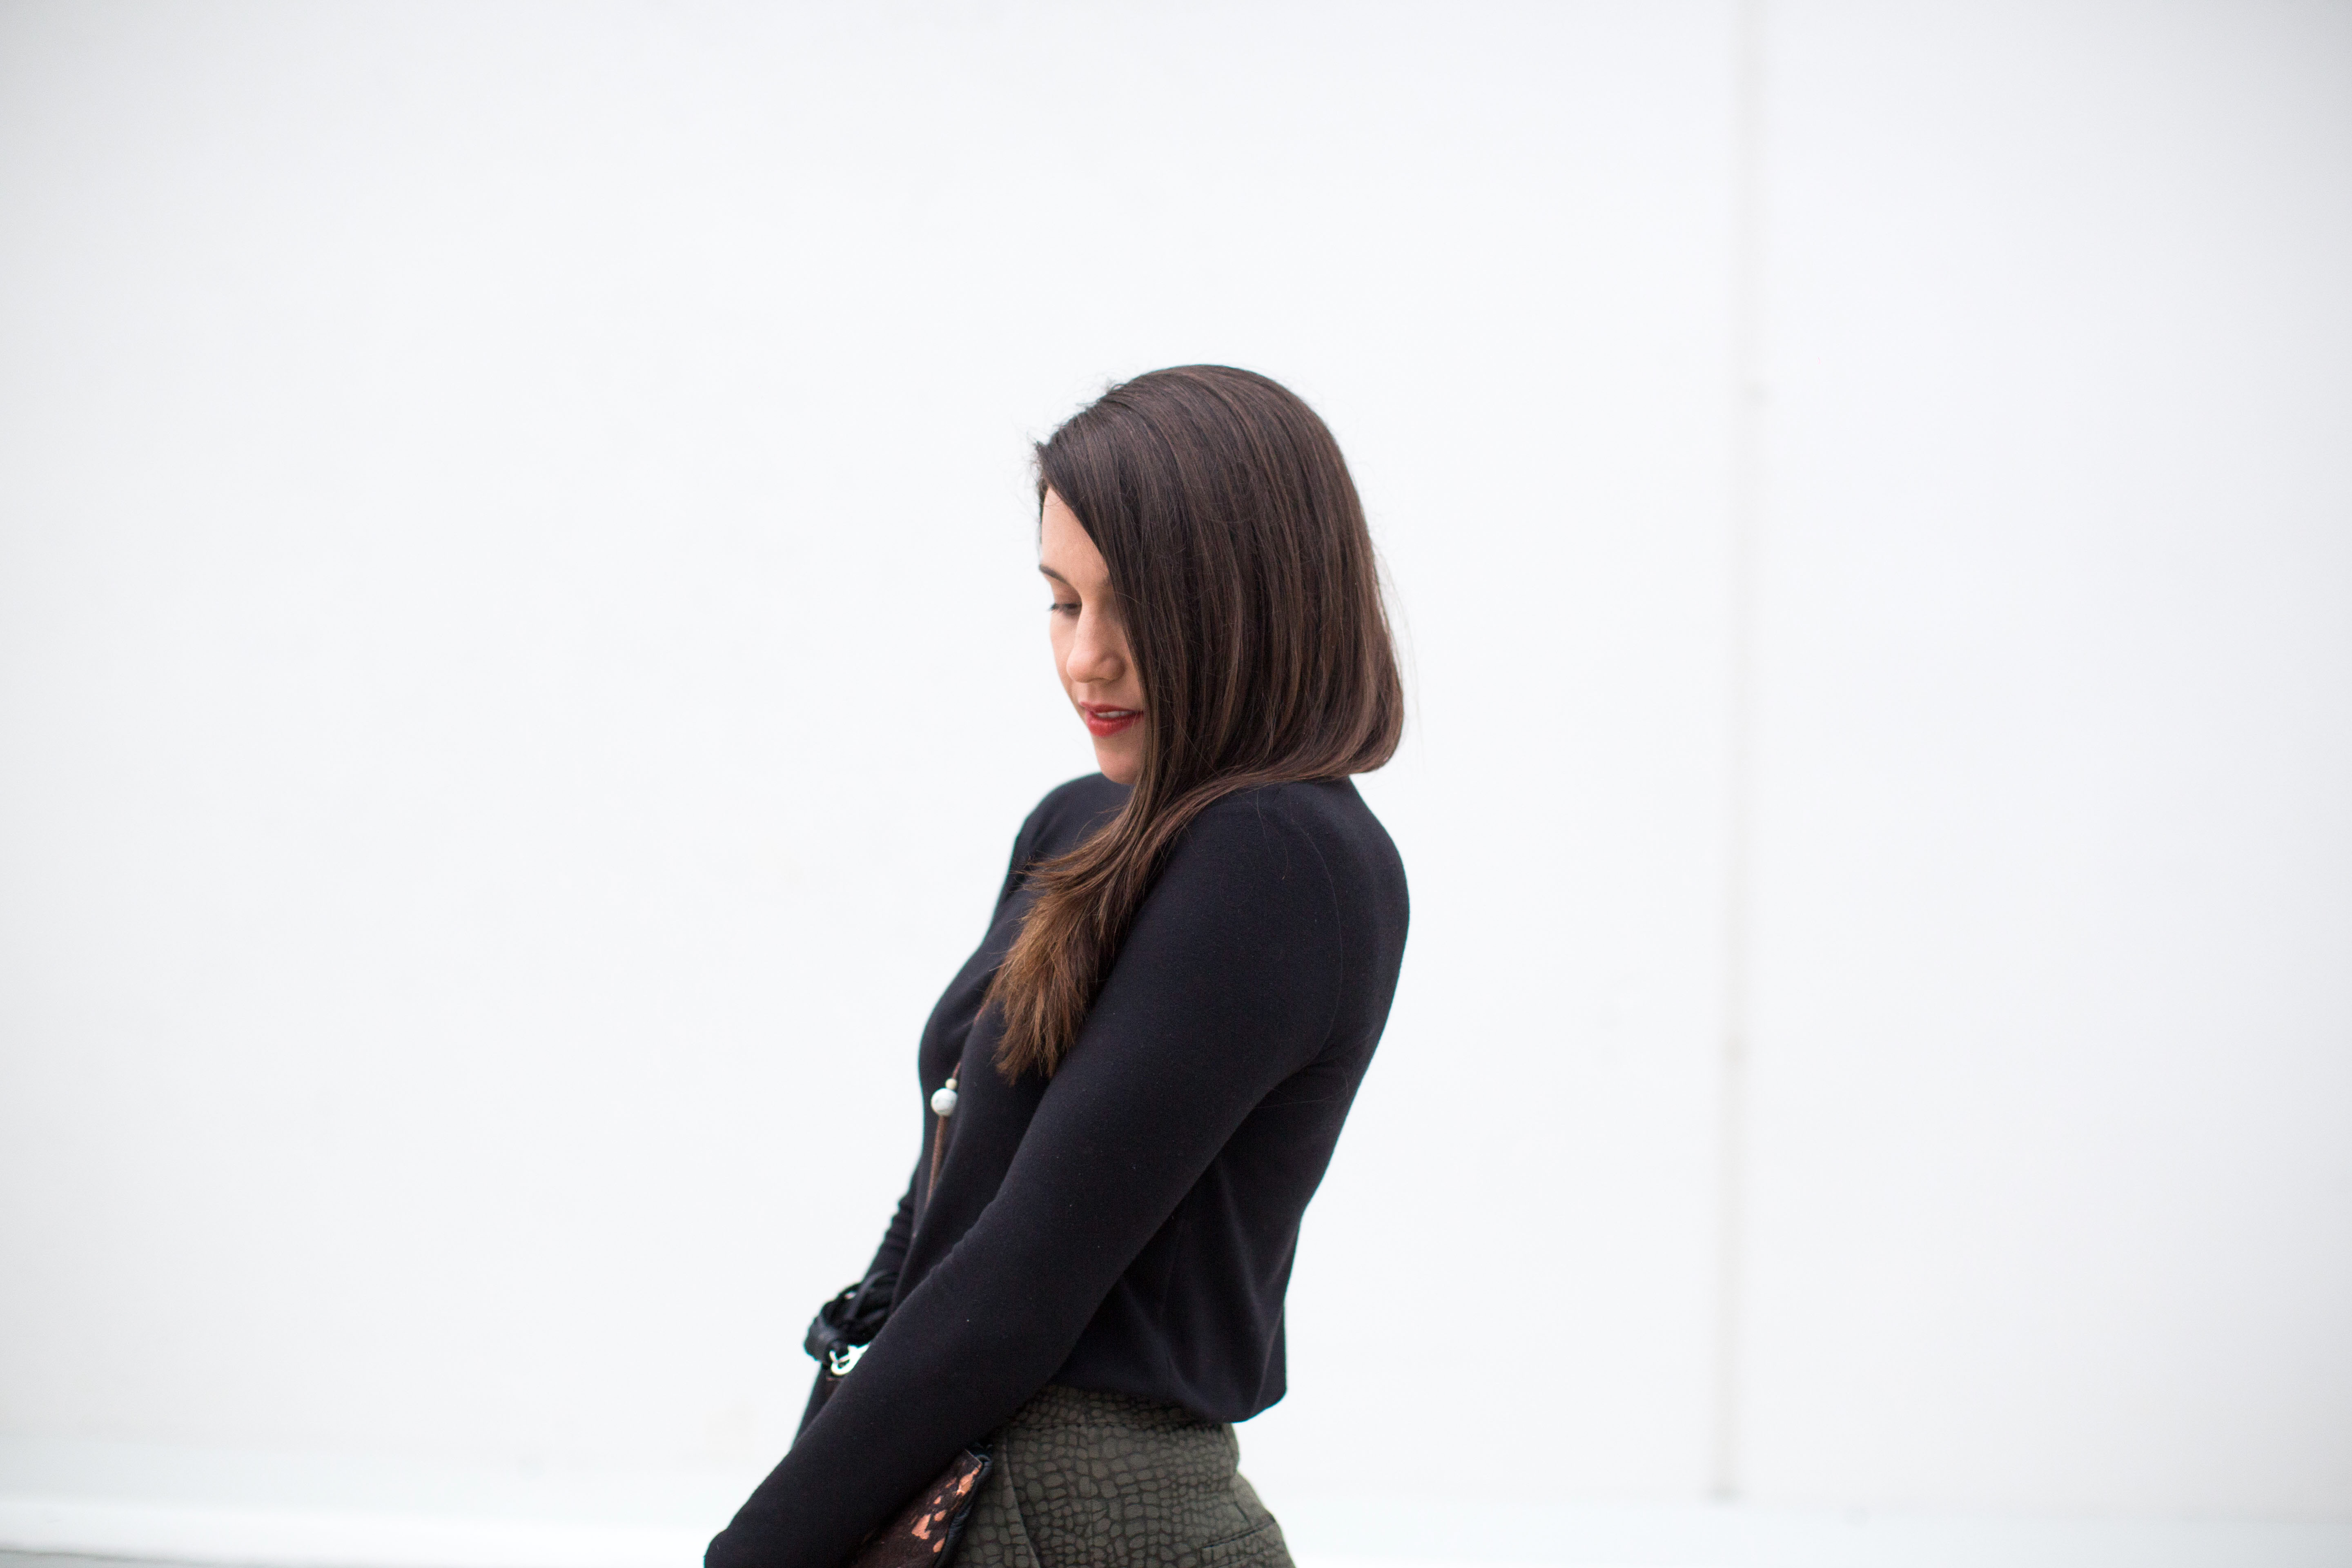
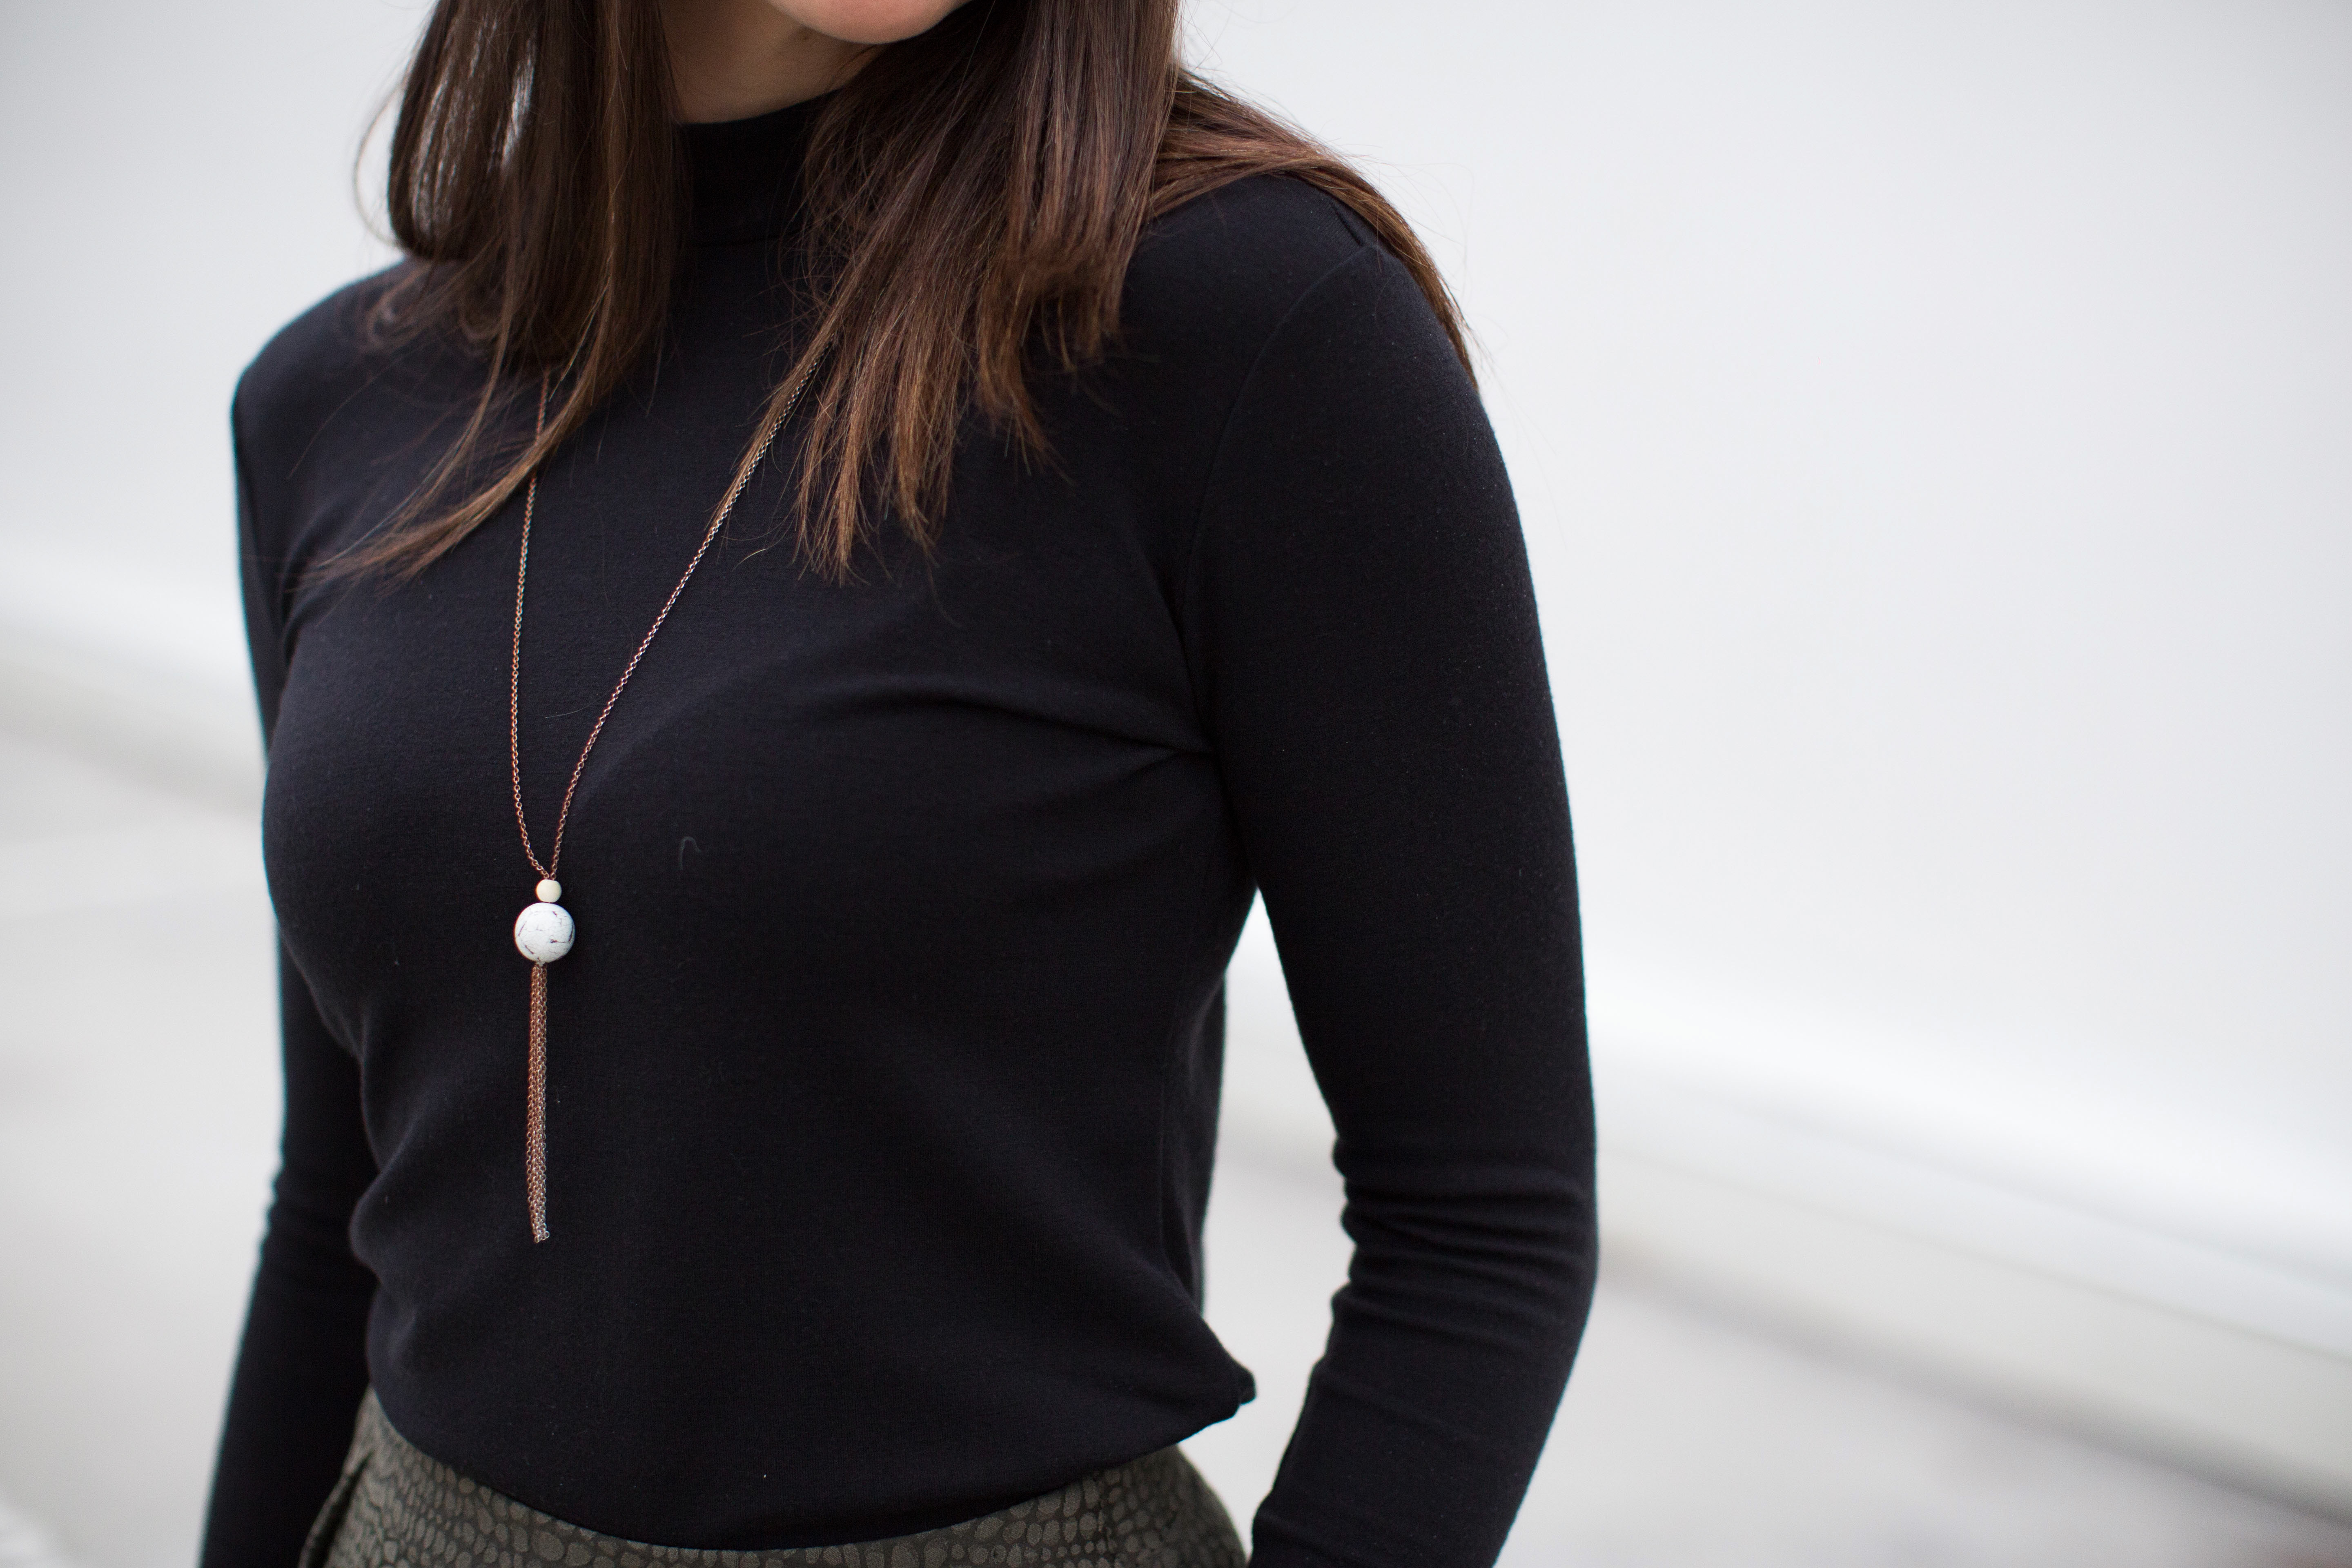 I love this top patternnn! After the Birkin flares, I believe it’s the second staple in the history of my hand-made wardrobe. It filled a gap I didn’t even know I had! At the start of winter I was so SO close to buying a turtleneck. But I am ever so happy I decided to DIY instead of buy. The pattern is the Papercut Rise & Fall turtleneck. This is the Rise version in a scrumptious mid weight merino jersey with lycra from here, and it’s fab. Firstly, it’s a quick sew, less than 2 hours from start to finish including cutting. I sewed it entirely on the overlocker, then coverstitched the hems; which always makes for a happy sewist. And lastly, fit wise, it’s everything you could want for in a store bought turtleneck.
 As is habit now, I did some preliminary sleuthing and found that while most said they loved the pattern, they wished they had sized down. I sized down and the fit through the body is perfection. The only mod I made was to add 1″ to the sleeves. Next time I would add 2″ to the sleeves and 1-2″ to the hems but if you have regular length arms this wouldn’t be necessary. Now I’m dreaming of another version with above elbow length sleeves, in a stripe.
 There’s nothing else to add, it has kept me toasty warm through a mild Brisbane winter and I need 100 more.
